
Here I am again with another tote transformation! I love a good sturdy tote, but face it, a plain canvas tote can be totally *yawners*. Sometimes I want a simple bag to throw over my shoulder that has a little more going for it. I’m more of a one strap, cross-body bag girl. This idea has been rattling around in my sketchbook for ages and today I finally made one up. Fast and simple: are you ready?

Thread
Tools:
Seam ripper
Sewing Machine
Heavy Duty machine needle
Measuring tape
Fabric shears
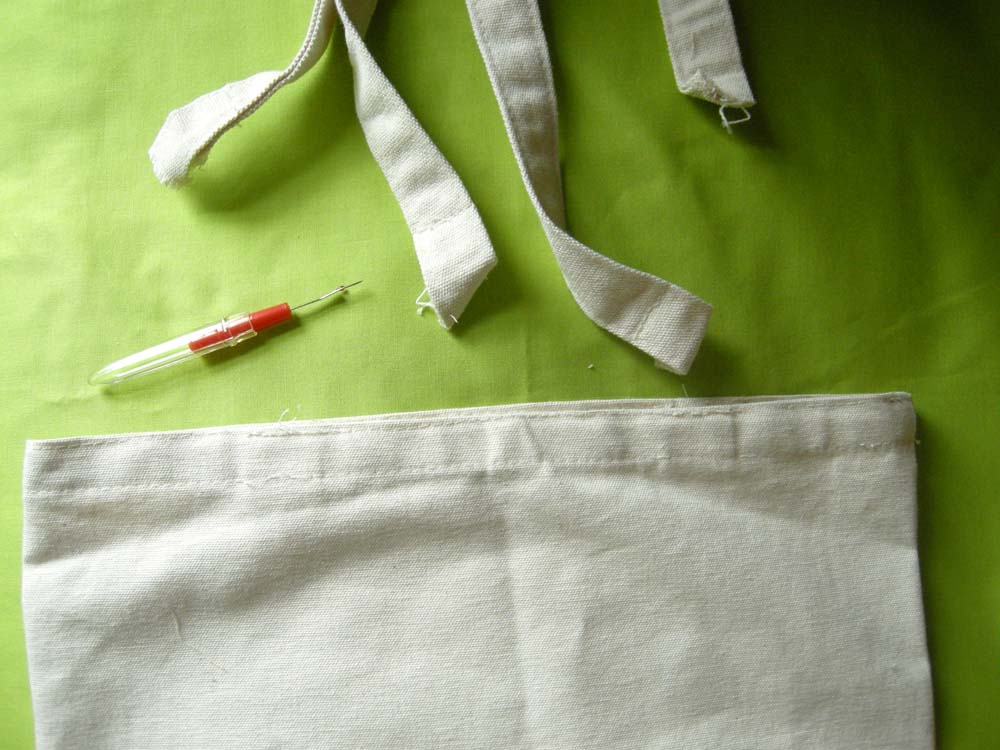
Grab a seam ripper and remove the tote handles. You might need to restitch part of the top hem, depending on how they were attached. Save the handles for another project.
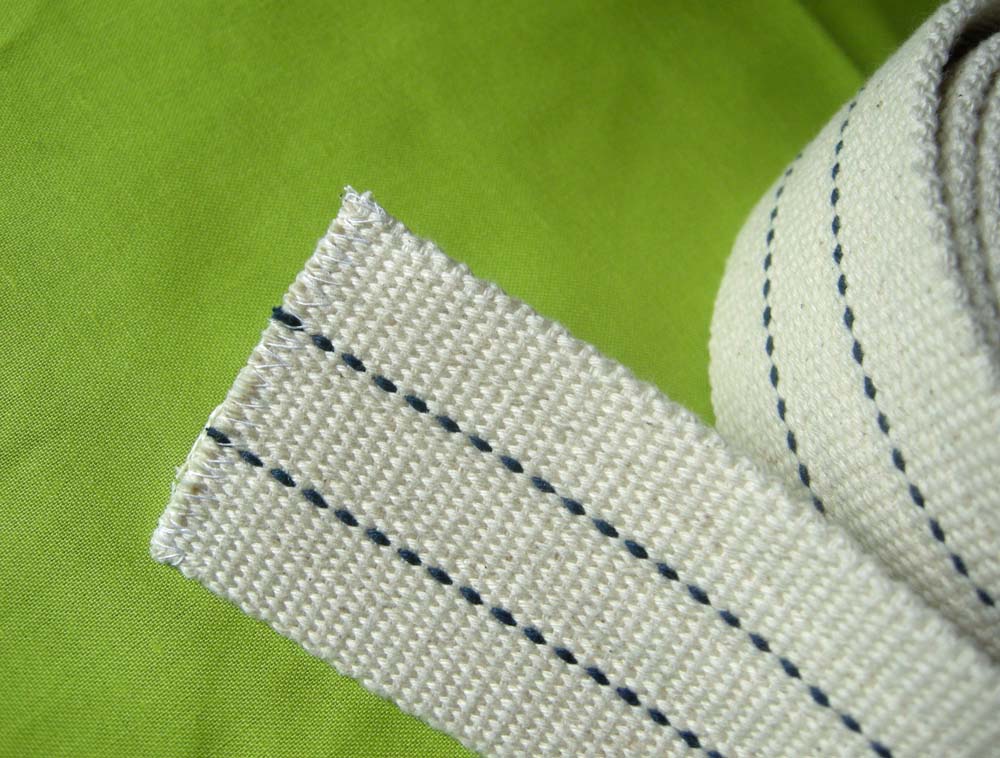
Measure and cut your webbing to your ideal cross-body strap length, plus a few inches for overlap. Mine is 2″ wide x 45″ long. (I purchased it so long ago on etsy that I have no resource info to share about this particular webbing.) Finish the ends with a zigzag stitch to prevent raveling.

Underlap (that’s a word, right?) the strap at the side seam and topstitch in a square around the strap end, followed by and X in the center of the square. Repeat for the other end of the strap, making sure the strap is not twisted.

Time for the flap! The large flap is a great opportunity to use a fabulous print or chunk of vintage fabric that you really want to showcase. The fabric I used for the flap is my original print design from my Mod Max organic cotton and hemp canvas. This is the “moth” print. You can find it and the other Mod Max prints in my etsy shop. For the lining I used Robert Kaufman’s Pure Solid organic in Teal for a POP! To plan the flap, measure the space between the straps. Measure the height of the bag from the top edge to the edge of the base (not the center bottom seam).

Flap and Flap Lining fabric: Cut a rectangle that is width (mine: 11″) x the height + 2″ (mine: 14″). Use a mug or CD as a template to mark 2 rounded corners on the bottom edge of the flap and lining. Place right sides together and stitch the perimeter with a 1/4″ seam allowance, leaving 3″ open at the top for turning. Notch seam allowances at the curves, then turn the flap right side out through the opening. Press well, folding in the seam allowances at the opening. Topstitch entire perimeter at 1/4″, closing the opening.

Attach the flap: Place the top edge of the flap over the back edge of the bag, overlapping about 1″. Pin into place then topstitch across the width of the flap. DONE.
Other variations: You can add a patch pocket to the back and/or front under the flap. This is a great way to hide an unwanted logo that may be on the tote. There are lots of options for straps, too. A cool belt (karate, webbed with grommets, leather, etc) an old necktie, lawn chair or upholstery webbing, etc. You could even stitch the 2 original tote handles together to make one strap if they are long enough.
That was fun! I can’t wait to use my new bag for trips to the library, shopping and other outings. If you try my tutorial, I’d love to see what you make!
LOVE this! I am totally an over the shoulder girl, and it’s so hard to find fun messengers with enough room for mommy stuff! Thanks!
Nice job, Betz! You totally improved on the original. Thanks for all the crafty textile goodness you put out into the world.
Pinned this…I can’t wait to dress up my old, boring totes.
oooooh! Very clever and cool! Thanks for sharing!
Very, very clever! I think I might try this!
Great idea! not such a big project–but great results.
I love this and the fabric is to die for. thanks for sharing.
great idea! i will be making one if i can find the time cuz let’s face it, who doesn’t need another tote?!? thanx!
very beatiful
So clever!
Awesome idea. I love that fabric you used
very nice! I like it!
I was wondering what to do with these boring old tote bags found in the cupboard while spring cleaning. I know a daughter of mine who will be thanking you 🙂
That’s lovely! What a clever idea :o)
Thanks for the tutorial! we just featured you on our Facebook and Twitter accounts! http://www.facebook.com/FashionArtProjects
I love this! I am not a fan of a lot of totes, they are so dull. However, this is so nice. Love the transformation, I may just have to make one, or ten of these now.
So cute Betz! I posted this on Green Bag Lady!
This idea is genious!! So simple and easy and you would never guess it was made from a cheap canvas tote! I made one for my sister and I to use at the Scrapbook USA Expo! It was perfect. I featured it on my blog and linked it back to this blog. Thanks for sharing. I am going to follow your blog. It’s darling!