It’s officially picnic season! Today Cindy shares a fun add-on to the Casserole Caddy from Present Perfect. Have a great weekend! – Betz

Cindy here! Thank you so much for visiting! I appreciate all the kind words and e-mails about my previous sewing collective post about Betz’s Jet Pack Bag. Isn’t it a fabulous pattern? Today I’m back to share another great pattern, the it’s your lucky day casserole caddy from Present Perfect, below.
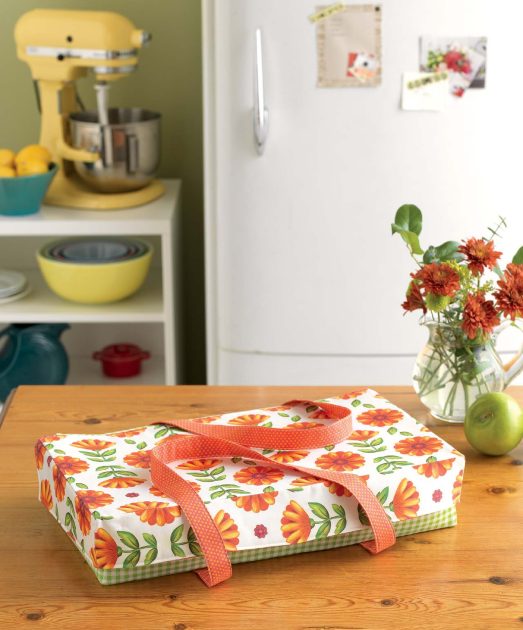
This project came at just the right time for our family. With 3 active kids in the Boy Scout program I have been looking for a roomy carrier to transport food to banquets and BBQ’s. And measuring in at a roomy 10″ x 16″ or a 9″ x 13″ with handles, I knew I could easily fit my dishes and lids with no problems.

This pattern is written so you can use the materials of your choice. Because this deals directly with food a nice oilcloth or laminated cotton would be a perfect choice here. In my caddy, I used a combo of natural linen and a blue-patterned cotton/linen dinner napkin set from TJMaxx! To protect my fabric from future spills I also applied a coat of Scotch Guard to the caddy and let it sit out until safe and completely dry.
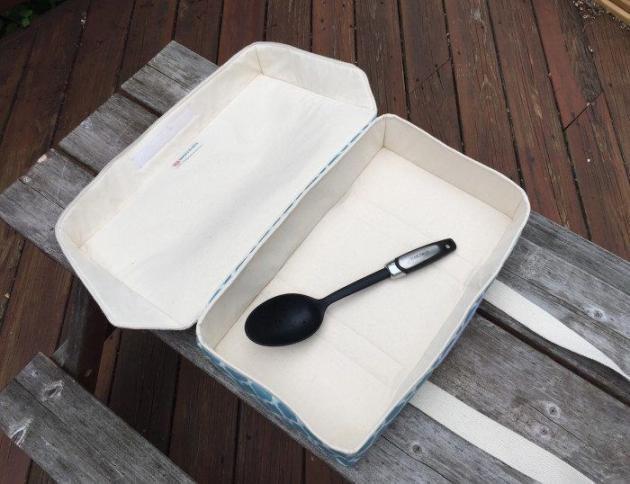
What I love most about this caddy is the long velcro closure and the angled sides of the lid flap. This really makes the caddy secure and travel ready. I also made an easy substitution for the straps. I substituted the matching fabric straps for heavyweight natural cotton webbing I found at our local craft store.

After I finished my caddy, I realized I wanted a special place to put napkins and a spoon or two. There is plenty of room inside to lay extras on top of the casserole lid, I just wanted it to be separate. So my solution was too add a very simple pocket on the top exterior panel. Now I have a place to put a handful of napkins in and other items I may need to bring along at the last minute!

To make this simple pocket add-on for the caddy here’s what I did:
**Note: I added this extra pocket during the exterior lid assembly**
1. Cut two pieces of coordinating fabrics, each cut 8″ x 8″. ( This size was my personal choice, feel free to adjust to your needs.)
2. Pin the right sides of fabrics together, then stitch 1/4 around all 4 sides. Be sure to leave a 2″ opening on the bottom to turn right side out.
3. Turn right side out and press. Topstitch top pocket line 1/4″.
4. Center the pocket on the exterior top lid piece, then pin. (I had my pocket opening facing left.)
5. Sew along both sides and bottom. Your stitching here will close the opening you made in Step 2. Now you’re done!
With summer in full swing (well, not yet up in central NY!) and calendars filling with parties, picnics, and playdates a nice roomy casserole caddy should be ready to go at all times! Give this quick sew Casserole Caddy pattern a try. You’ll love it!
Happy Sewing!

Find Cindy: Blog, Facebook, Twitter, Instagram, Pinterest
This post is part of the Betz White Sewing Collective series. Content is written by compensated contributors expressing their own views and opinions.