Who needs a gift idea for Dear ol’ Dad on Father’s Day? Who has a bunch of canvas trade-show totes laying around? You do? I thought so!

I was trying to come up with a fun Father’s Day project when I spied my pile of canvas totes. Nice durable canvas…handy cotton webbing straps…then it hit me. These would make great utility aprons!
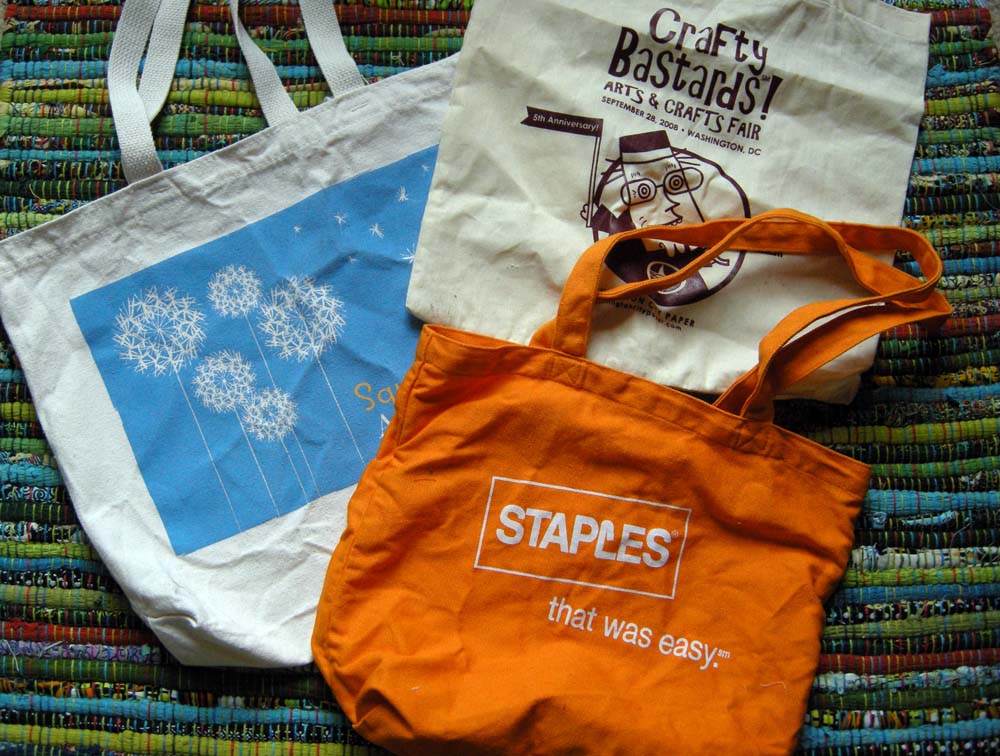
For Dad, you’ll need a good sized tote. The tote I used measured about 18″ wide x 14″ tall with a 2″ gusset. (Save the smaller ones for another idea I’ll post soon.)

You’ll want the construction of the bottom to be like the photo above, gusseted with no bottom seam. Turn the bag inside out to check.

If the bottom of the bag has box corners like this, use this tote for a different project, like my Canvas Tote Refab.
All set? Ok, the following steps will show you how I made my apron. Keep in mind that all totes are constructed a little differently, so use my measurements and instructions as a guideline. I tried this apron on my husband as I made it to be sure it would fit him properly. You will need:
- One large Canvas tote (with gusset bottom, as noted above)
- Scrap for pocket
- Thread
- Extra webbing, about 1 – 1.5 yards
- Fabric shears
- Sewing Machine w/ heavy duty needle
- Pencil
- Ruler

Step 1 – Deconstruct Tote: With the bag inside out, cut along the side seams (see “yes” photo above) trimming off the seam allowances. Open up the bag flat and decide if you want the bag’s logo on the chest of the apron or hidden by the pocket. I’m going to hide the logo, so the blank side will be the top of the apron. The tote’s handle will now be the neck strap of the apron. (You can always shorten it if it is too long for the wearer)

Step 2 – Shape Bib: Working from the wrong side of the top, measure 4″ in from the side and 7″ down from the top. Draw a diagonal line between these points with a pencil. (Click on any photo to make it larger and easier to see details) Cut off the triangles along the pencil line. Finish the raw edges of the bib and sides of the apron using a serger or a zigzag stitch.

Step 3 – Make Bottom Pocket: Remove the second tote handle using a seam ripper. Set handle aside. (You may need to re-do some of the top stitching on the hem of the bag if it starts coming apart.) With the apron right side up, fold up the bottom edge about 9″ and pin.

Step 4 – Finish Edges: With the apron wrong side up, fold bib and side edges in 1/4″, press and pin. Top stitch, taking care to go slowly over the multi-thickness areas like the hem of the pocket.

Step 5 – Divide Pocket: Measure and mark divisions for the front pocket as desired. I stitched 2 vertical lines about 6″ apart to create 3 pockets across the bottom front.

Step 6 – Add Side Ties: The unused tote strap will only be long enough to make one tie. I used mine and made a second tie from leftover webbing from another project. You’ll want each tie to be at least about 27″ long. Serge/zigzag each end of the webbing tie, then hem 1″. Place one end of the tie at side of the apron, about 10″ down from the top edge of the apron. (Check the wearer for placement!) Pin to the wrong side and stitch a box with an X in the center. Repeat for the tie on the other side of the apron.

Step 7 – Optional Bib Pocket: Using a scrap, such as the leg from some cut-off jeans, add a pocket to the bib of the apron. Cut a 6.5″ x 7.5″ square (utilizing the former jeans hem), and pressed back a 1/4″ seam allowance around the sides and bottom. Pin, wrong side of pocket to right side of apron bib and topstitch sides and bottom. Done!
You may choose to leave the bib area blank, add a pocket, use the original screen printed logo or add some other kind of decoration to your apron. Printing something yourself on the bib would be fun, too. Try:
- block printing
- hand stamping
- freezer paper printing
- potato prints
- kids hand prints!

I hope there’s a great dad in your life that you can make one of these for. You can fill the pockets with shiny new BBQ utensils, tools, paint brushes, or things for whatever your Do-Dad does! It’ll be a gift he’ll love!
I’ll be back soon with more fun ideas of things to do with canvas totes!
***Update: Little Artist Apron***
OH this is just too clever! And do I have totes? Oh yes! And a dad who I never know what to get for Father’s Day but would love this? CHECK! 🙂
Thanks for the terrific idea! 🙂
Great idea Betz! How do you constantly brew these things up?! Tell D that George says, “Hey!” (and he didn’t growl).
Daisy Janie,
I dunno. I just stuck my head thru a tote handle and Viola! 🙂
Betz
That is such an excellent idea! Love how you can repurpose things.
what an awesome idea! I wish I had some spare totes!
Brilliant!
Brilliant idea! Thanks for sharing!
Such a great idea! I love making new things out of old things. Thanks!
Thanks for the great idea/tutorial! My dad isn’t the apron sort so I made one for myself! And I folded the apron inwards to make a secret inner pocket cause I tend to lose things out of my pockets easily!
http://outlawathome.blogspot.com/2010/06/up-cycled-tote-into-apron.html