There are plenty of ways to make pompoms, from DIY cardboard circle templates to store bought tools. Many of them are great, but all of them require lots and lots of winding. I find that to be the tedious not-fun part of pompom making. I decided to try out my yarn winder to see if I could make a dense fluffy pompom with it.
If you’re a knitter, you probably already have a yarn winder. They’re usually used in conjunction with a yarn swift to wind a hank of yarn into a ball for hand knitting. My winder is really old and kind of funny looking, but you get the idea.
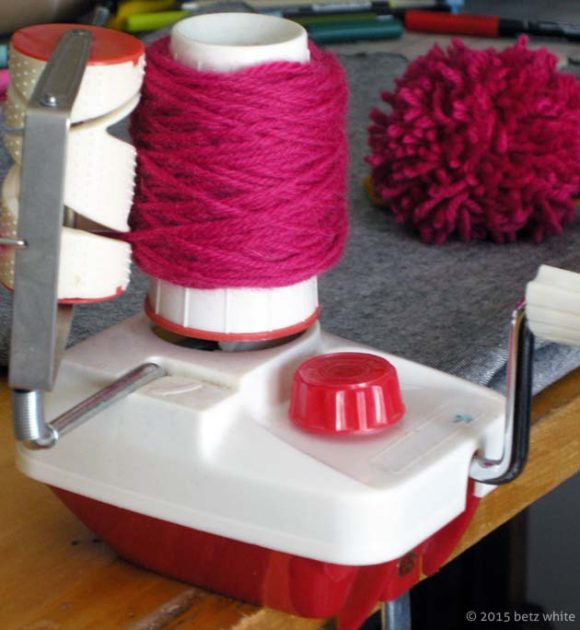
This technique will make 2 medium sized pompoms at a time. Practice with some yarn from your stash, preferably wool (you’ll see why later). In these examples, I used a worsted weight, but other weights would work as well but result in a different look. Start by winding the yarn onto the winder. You can use one color or tie several different yarns together. Wind until the wrapping is about ½” or so thick. Winding more will make a bigger, thicker pompoms.
Cut 2 lengths of yarn ties in contrast colors. I used green and purple. This will help you tell the difference between the ties and what’s the pompom yarn. Fold them in half to be used double for strength.

Carefully slip the yarn off of the winder, keeping your thumb in the center.
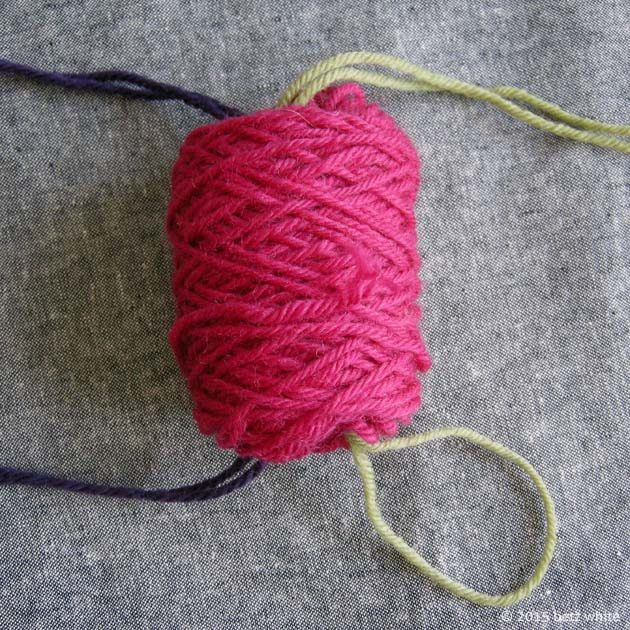
Now thread the two ties through the center and slip your thumb out. You may want to use a large tapestry needle or bodkin help you pull the yarn through.
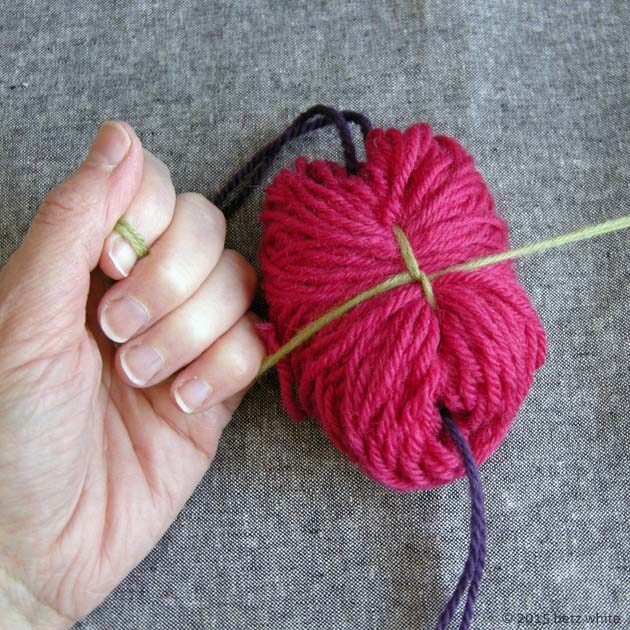
Tie the ends of one tie together as tightly as you can.
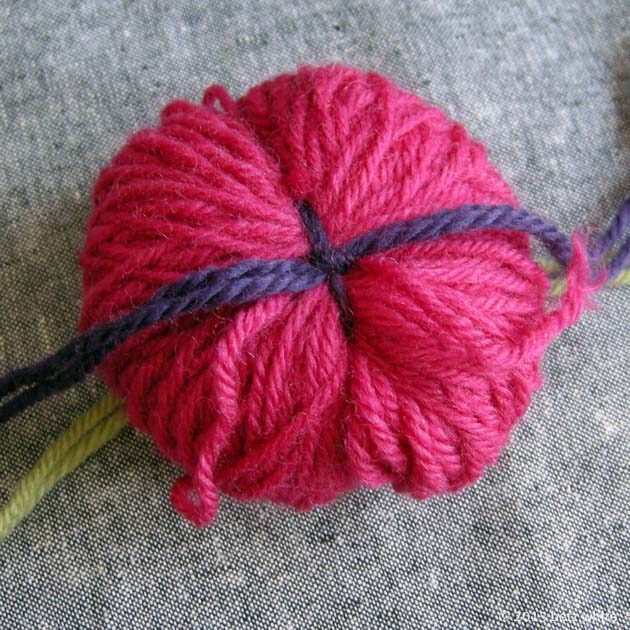
Turn the bundle over and tie the second tie together tightly on the opposite side. Now comes the fun part!
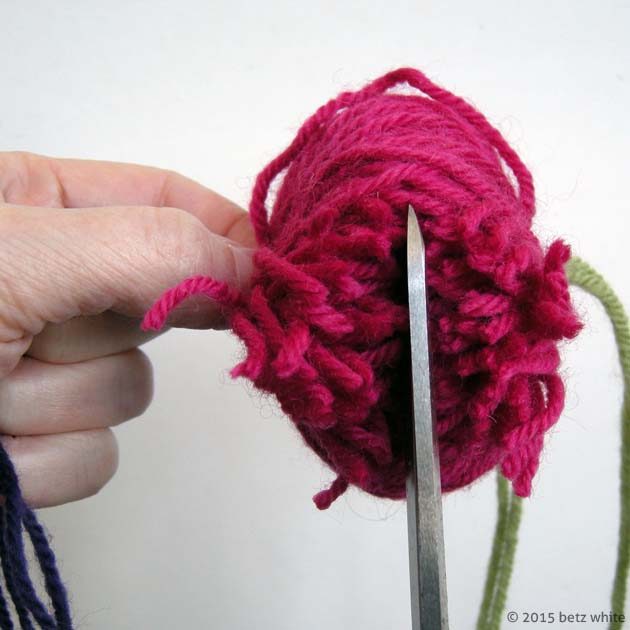
With the knots on either side start cutting the yarn in the middle, a little at a time. Basically you are separating the bunch into two separate pompoms. Snip snip snip!
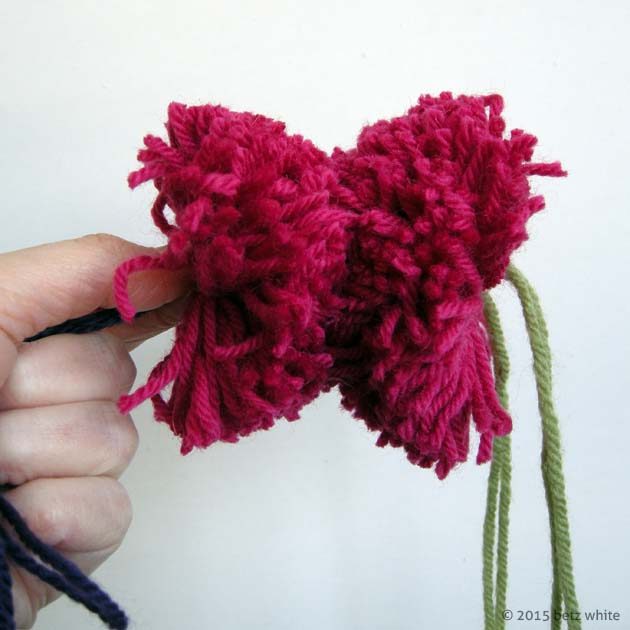
Look, conjoined pompoms…
Once separated, if you find that your ties are not tight enough around the center, double them back around and tie them again. Shake out each pompom and trim them up with scissors, kinda like trimming a hedge. (I tried using one tie and made one pompom, but I didn’t like how floppy it was. I may try it again but with more yarn!)

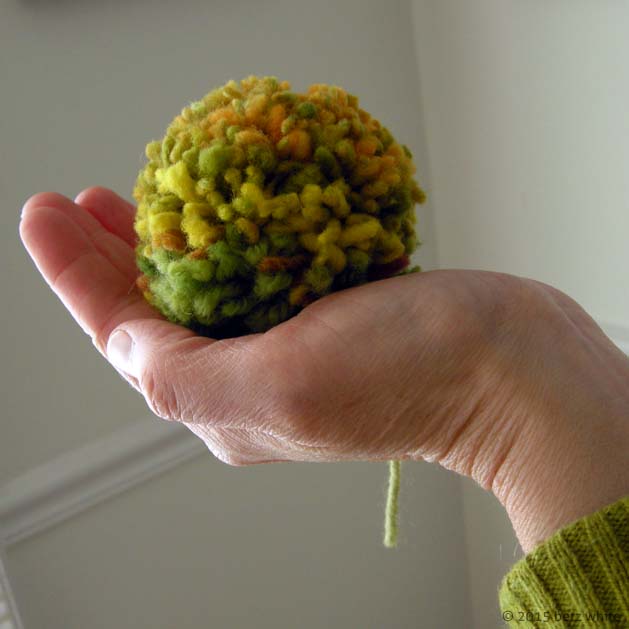
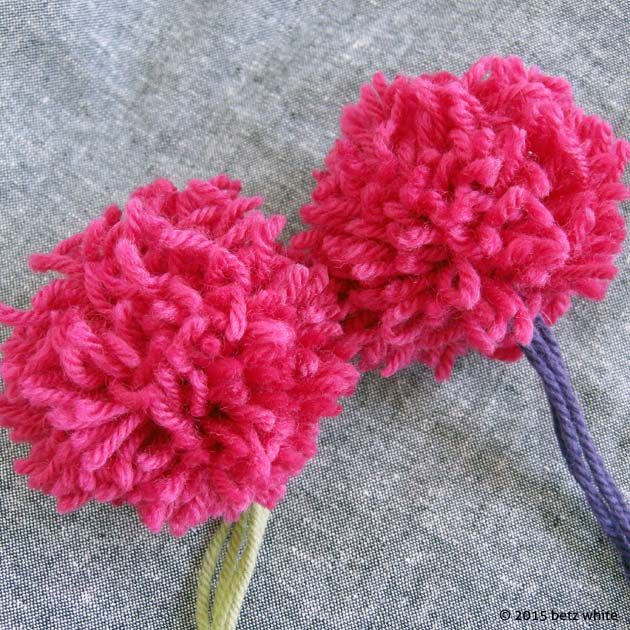
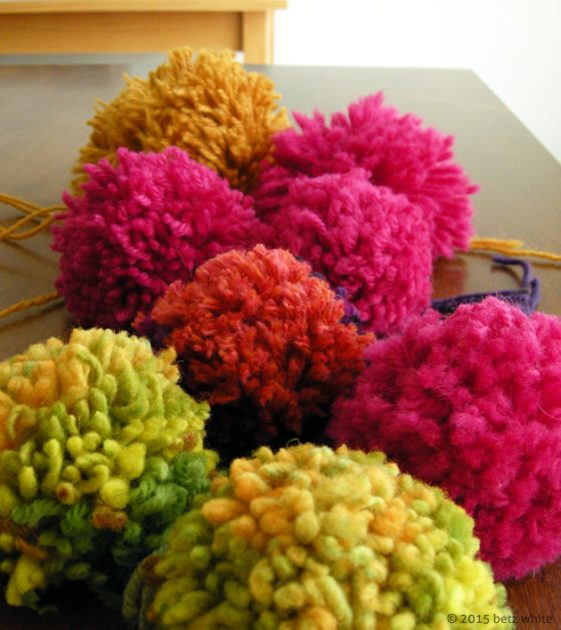
Now for the finishing touch: steam! Because I used wool yarn, I can fluff the pompoms with a little steam. I used my veggie steamer with just a little water and threw them in the pot for a few minutes. The steam really makes the ends of the yarn bloom. Keep the water low so they don’t get wet when it starts to boil! (Also, don’t let the ties dangle over the edge to char and make the house smell like burning hair. Just sayin’.) In the photo above, the 2 pompoms on the bottom were steamed, the top center one is not.
These are so addicting to make, I couldn’t stop myself! And what a great way to use up odds and ends of yarn. How do you make pompoms? Got any tricks?
All of your knitting machine talk, and now the yarn winder, remind me of my grandma’s house. We used to race to wind her yarn. That crank can go pretty fast! She had a knitting machine for years, but must have sold it. I never quite understood how it worked, so its been fun to see your updates 🙂
this is fantastic! Thank you!!
Thank you SO MUCH!! I’ve never liked the flat method of winding a pom pom and now I have yet another use for my winder.
Sara, I know what you mean about the grandparents’ house. Now that mine are no longer in their home, I sit and salivate over the countless treasures that have migrated to my mother’s basement. Lap Loom, table spinning wheel, drop spindles. At least I’m the only one who crochets. That means I was gifted all my great-grandmother’s hooks. From the one she brought with her from England to the one’s great-grandpa carved for her here. 🙂
Definitely going to try this!
By the way, the reason your winder looks funny is that it’s a cone winder, not a ball winder. They are really hard to find and circular sock machine owners are always on the hunt for them. I just paid $70, plus shipping, for one on eBay that doesn’t look as nice as yours! So, if you ever want to sell it, try one of the CSM groups on Ravelry or eBay.
Thanks, Robin! I got it with the used knitting machine I bought years ago, so that makes total sense!
lol! I love it!
I have one of the wonders pictured. Got it at a free thrift shop locally. No one knew what it eas so was pushing it out of the way on the counter, so I grabbed it becsuse I knew what it was. Use it a lot, makes it easy to wind yarn when the skein starts to tangle and is more than half used. Never knew to make pompoms with it. Got a pompom winder years ago. Plastic rings that fit together and make three sizes by temoving outer rings. It worked better than winding around my fingers, playing cards, small books or other things I used.
THANK YOU! I’ve never made a pom-pom that was “good.” I believe this method will help me conquer those pompoms! Thank you so much for such a great idea and such clear instructions! I will be making a bunch tomorrow!
How inventive! I wish I had thought of it!
This is brilliant Betz! DD has a plastic contraption from a kit that actually works fairly well but the winding is tedious. As soon as I saw “yarn winder” in the post I knew it was going to be good. The steaming trick is icing on the cake!