Many of you that work with felt probably already know this trick, but it is such a good one, I decided to share it just in case you don’t! In former Felt Lore posts, I’ve talked about cutting tools and marking tools. Well, freezer paper is one “tool” that will make both easier. Freezer paper is made for wrapping meat and other food and can be purchased at the grocery store where the foil and baggies are sold.

Say you’re cutting out some felt penguin feet, as one does. You have your template but pinning it to the felt makes it buckle and you want to cut those toes just right.
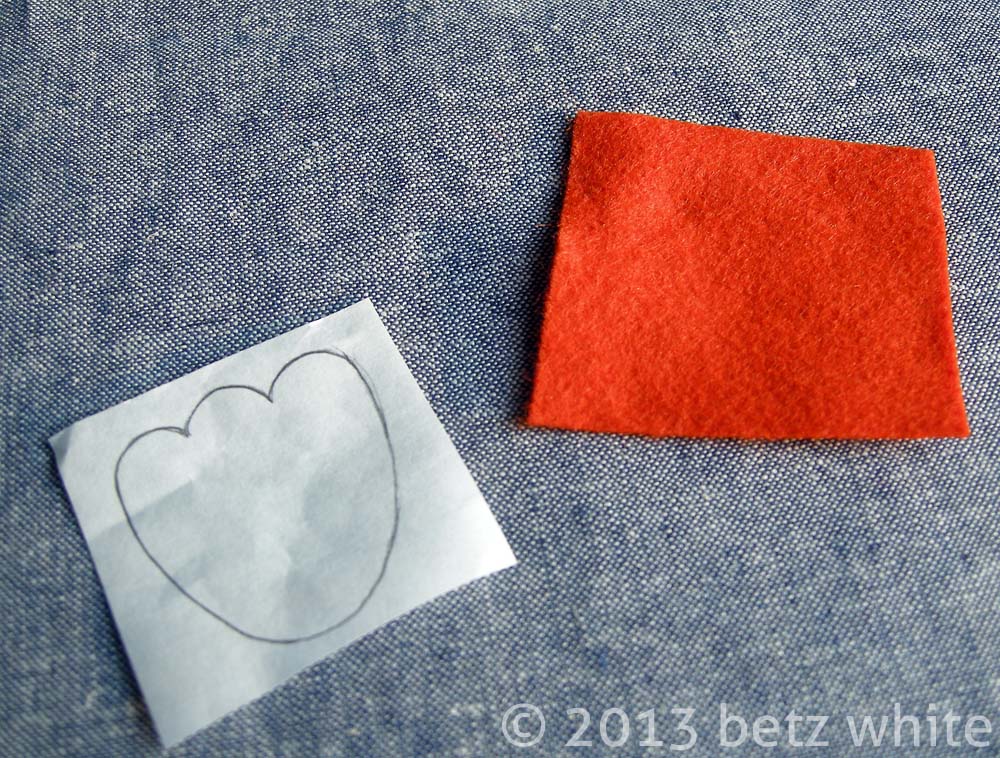
Simply trace the template onto the matte side of a piece of freezer paper.

With the shiny side down, lightly fuse it to the felt with a warm dry iron.

The freezer paper sticks just enough to allow you to cut precisely on the line, then peels away without leaving a residue.

The best part is, you can reuse the template to cut out another foot or whatever you’re making. Just reposition, fuse and cut.
A few years ago I discovered (for myself) that you can print directly onto freezer paper! How cool is that? Say you’ve purchased a PDF pattern that you need to print out anyway. If you print the templates directly onto your freezer paper with an ink-jet printer, you’ve saved yourself the step of tracing. Yay! To do this I just cut a letter size piece of freezer paper off the roll then roll it the opposite way to help get the curl out of it so it goes through the printer. If that’s too fiddly for you, you can purchase ready-to-print letter sized sheets of freezer paper. What will they think of next?
By the way, if you’ve joined along in the Holiday Stitch-along Ornament Club, the freezer paper templates would work great for the Peace Dove. I hope you’ve found this tip useful and feel free to share any of your tips in the comments.
This is a handy little trick Betz. It’s always good to share these tips! Thank you.
wouldn’t cut felt without my freezer paper!
🙂
I don’t know how I lived without it! 🙂
Very Cool! Thank you for sharing. I’ve just added freezer paper to my grocery list.
wow awesome tip thanks for sharing 🙂
FYI: For those of you in Australia, here’s a source for freezer paper: http://www.usafoods.com.au/Other/Kitchen-Goods/Reynolds-Freezer-Paper
You can also iron the freezer paper to cotton fabric, then print on the fabric. . .if you wanted to have a photo, or reproduce a particular print. I’m not saying that printer ink is archival, but it’s a fun trick. I printed some program covers and made a bunting this summer that was a huge hit.
Great idea! We’ve used it to print on too. Thanks for sharing!
What a great tip! Thanks for sharing!
Thank you for this great tip!
Can anyone tell me what is the English equivalent to freezer paper
I googled it and it might be called “grease proof paper”. Hope this helps!