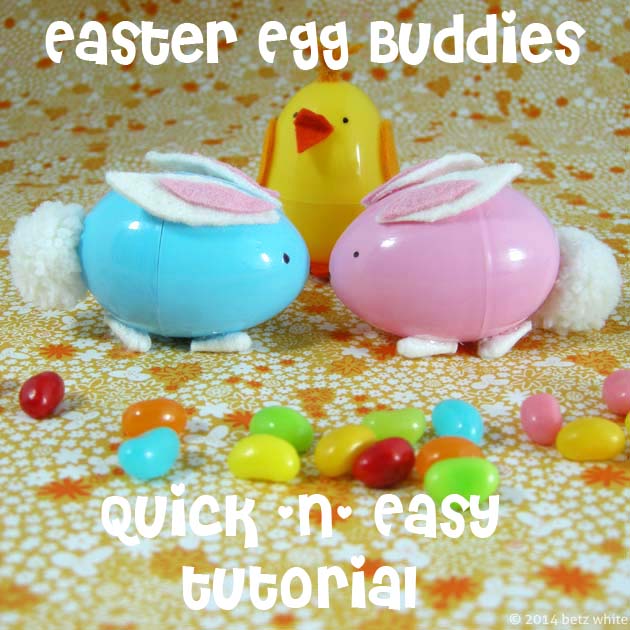
Here’s a quick last minute Easter Tutorial to do with all of those plastic eggs you have hanging around.
You’ll need:
- Plastic eggs
- White, pink, yellow, orange felt scraps
- White and yellow yarn scraps
- Cotton swabs
- Fine point Sharpie
- Glue gun
- tweezers
Because of the glue gun I can’t recommend this craft project for little people and plain craft glue won’t hold the felt securely to the plastic eggs.

And don’t forget the C A N D Y ! ! ! ! !

Cut 2 outer ear shapes in white felt and 2 inner ear shapes out of pink felt. Layer and glue together, then glue just the front part of the ears to the pointy half of the egg.
Make a small white pom-pom tail out of yarn with a pom maker or a pice of cardboard. You can also use a purchased craft pom-pom. Glue to the round end of the egg.

Now for the bunny feet! Cut the cute little cottony tips off the swabs and glue them to the bottom of the egg halves as shown above. Tweezers are good to use to dip them into the glue to prevent burning your fingers. Now just add the nose and eyes to the pointy part of the egg with the Sharpie pen. Cute! The swab feet is an idea I got from my mother who made a similar bunny for my basket when I was a kid. Thanks, Mom!

How about a chickie? Cut and glue felt wings, a folded diamond shaped beak and a yarnie tuft on top.

Cut both feet in one piece and glue to the bottom. Depending on how stable your felt is, he may be a bit wobbly, but he sure is cute!

Let the glue harden and give it a little test to be sure all of the parts are secure. Then fill ’em up with candy! Cute in the basket or at place settings on the table. You can personalize them with names, too. I love Easter!
