
This is a follow up to last week’s post, “My Favorite Stabilizers for Bags“! There’s more than one way to fuse interfacing to the back of your fabrics. Over the years I’ve found myself using this technique and I feel like it saves time. While I love to sew, I don’t enjoy the cutting out process, especially when it comes to interfacing. Here’s what I do:
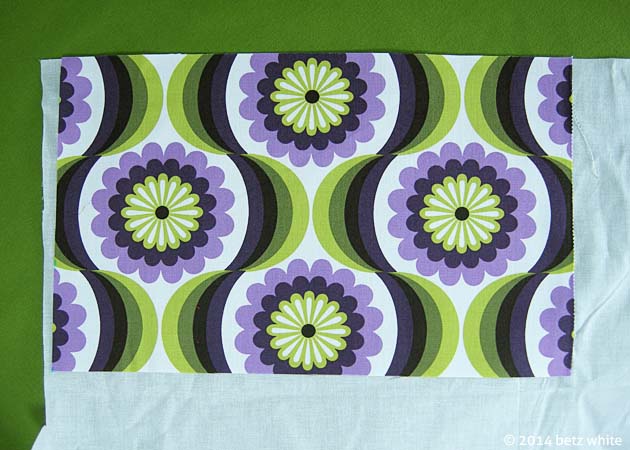
After I cut all of my main fabric pieces, I lay out my interfacing with the fusible side facing up, onto my ironing board. If my fabric piece has a straight edge, I align it with the edge of the interfacing. Since I use a woven interfacing (Like Pellon SF 101) I make sure to keep the grain lines straight.
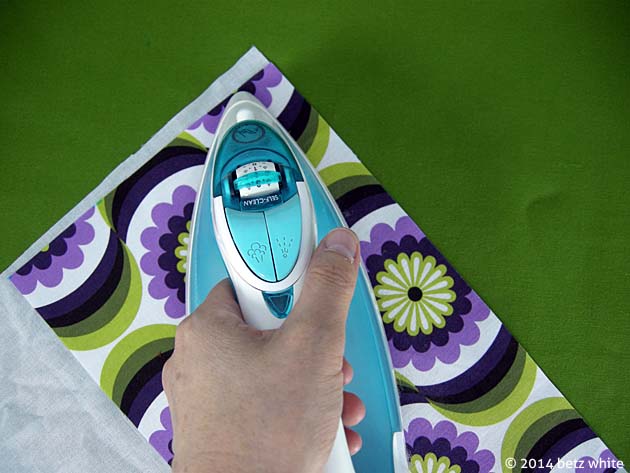
Next I iron the fabric to begin the fusing process, taking care to keep the entire iron on the fabric and not touch the interfacing with the iron.
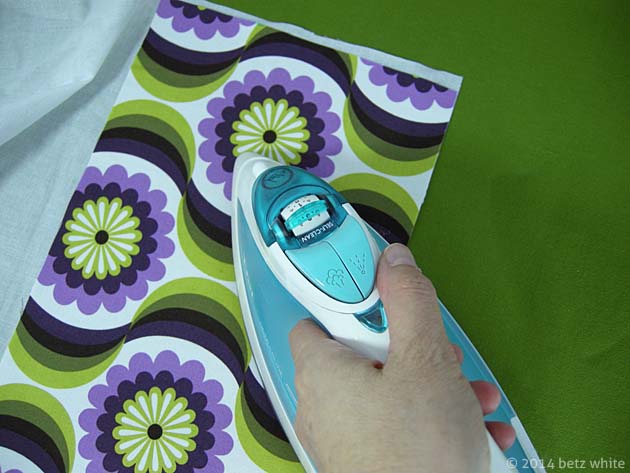
If I’ve got a straight edge with no interfacing peeking out, I can iron right off the edge while fusing. Once it’s mostly fused, I can cut way the excess interfacing with shears. I often do this right at the ironing board.
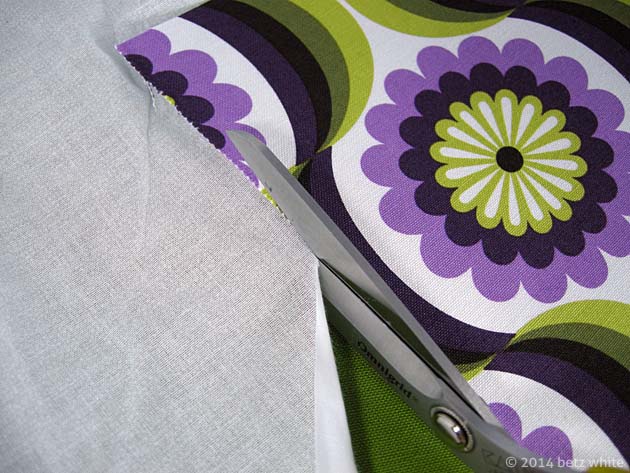
After cutting, I turn it over and continue fusing the piece on the interfacing (the non-fusing side). I’m using cotton interfacing so I can iron directly on top. If you are using a synthetic you should cover it first with a press cloth. I press around all of the edges to be sure there’s a good bond.
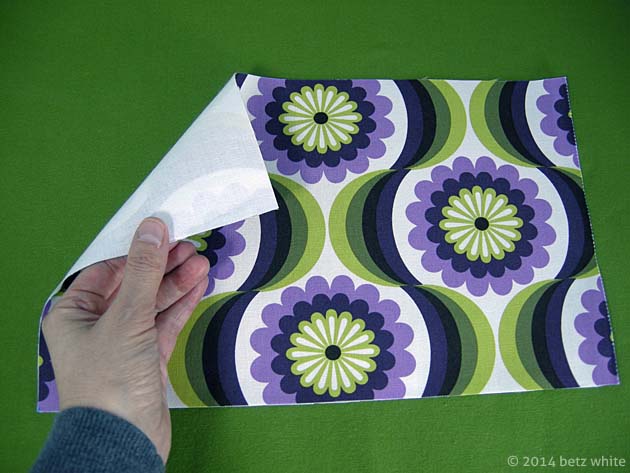
While technically this trick doesn’t save the step of cutting out the interfacing, I like it better than cutting out the interfacing separately, then aligning and fusing it to the fabric. I feel like it’s more precise and gets the interfacing right up to the edge.
Some sewers prefer to fuse interfacing to their yardage first and then cut their fabric pieces pre-fused, which is also an option but often makes more waste. I like to use that technique if I have several tiny pieces to cut out, like facings, pocket flaps, etc.
Whichever way you use, do what’s easiest for you that gives you the result you’re happy with. There’s more than one way to do almost anything. Do you have an interfacing tip to share?

That’s funny — I do just the opposite! I cut the pattern piece out of the interfacing and bond it to the wrong side of the fabric before cutting it out. Same result, less danger of bonding directly to the iron.
Ooh, that’s smart! I’ll try that next, thanks! The only situation that might not work well for is precise pattern matching on a print where it might be hard to see the print from the wrong side.
Great idea. I do a mix of you both suggestions and it works as well. Mostly I cut out the interfacing without seam allowance and press or iron it onto the wrong site of the main fabric. The fabric piece is with seam allowance.
That’s a great idea to cut the interfacing without seam allowances. I like to do that as well for smaller precise pieces such as collars and neckline facings to reduce bulk. For bags and items with larger pieces (that don’t have bulk issues) I like to leave the seam allowance on the interfacing in case it becomes unfused, then it will still be caught in the seam line.
I do this too, it’s a great tip to share! I don’t like having to do more work than I have to lol
Now why have I never thought of this? It makes perfect sense because it seems like my interfacing is always bigger than my pattern piece for some reason. Thanks