
Since I introduced Entomologie, my new organic cotton fabric collection, I’ve been playing with some different projects. It’s always fun to finally sew with your own designs so many months after development. I put together quick little “bug” mug rug using a quilt-as-you-go (QAYG) technique! There are many QAYG tutorials out there but I followed this one to get started. Also, what the heck is a mug rug? It’s a small mat, sized somewhere in between a coaster and a placement, to set your drink and snack on. Love that idea! Plus it’s a quick project for easy gifting.
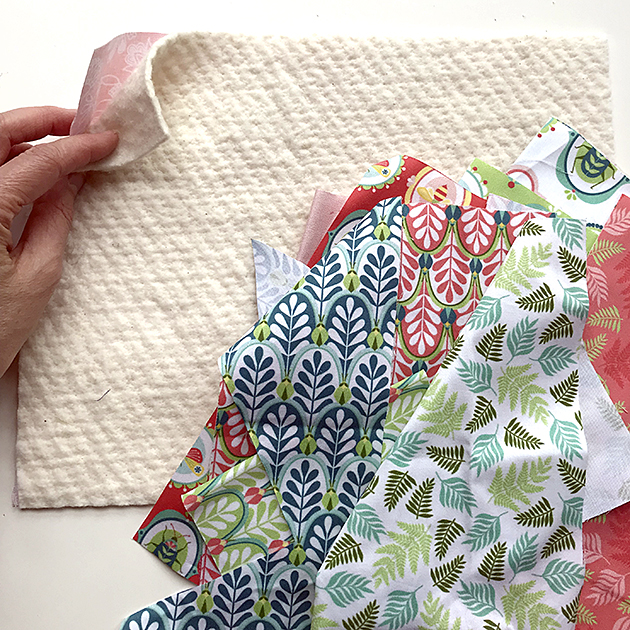
I’ll run through my process so you can try it yourself! I started with a piece of batting, about 9″ x 12″. You’ll want it to be about 1″ bigger than your desired finished size in both directions. I also cut a piece of fabric for the backing. Place the backing right side down, then layer the batting on top. I also gathered scraps of my Entomologie fabrics.( You can pre-order yours now from my shop if you’d like!)
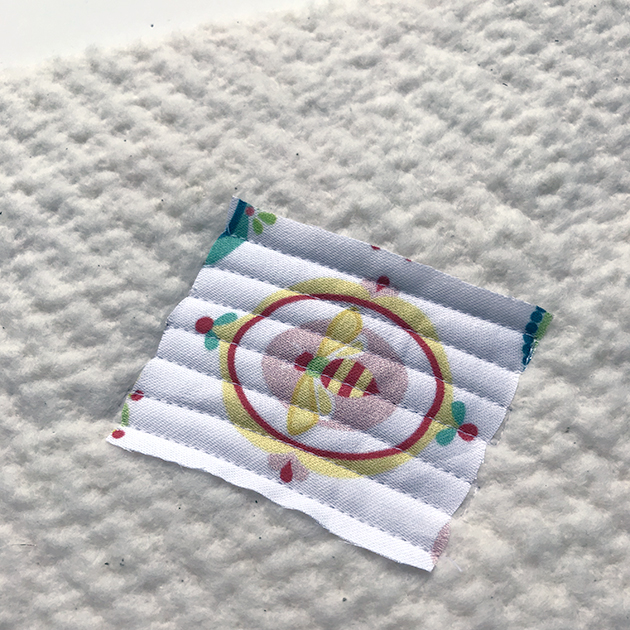
Next take a scrap and place it right side up on your batting. I put mine off center and angled for added interest. Stitch it to your batting and backing material. I used straight line quilting 1/4″ apart.
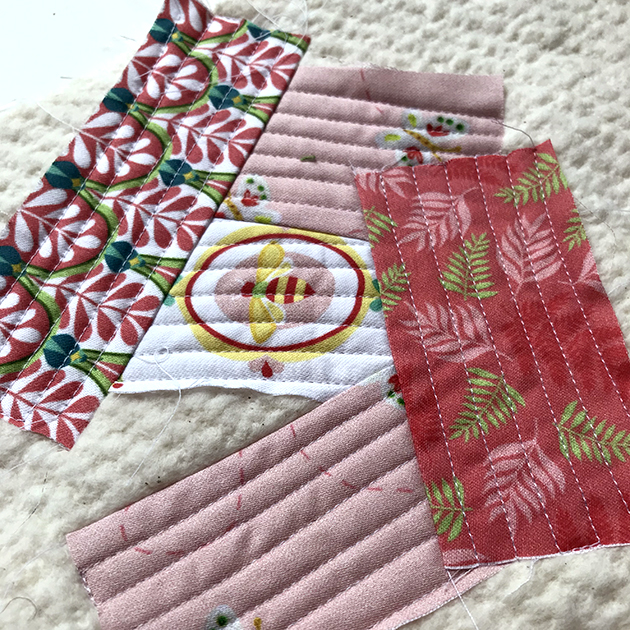
Next place another scrap, face down top of the first scrap at an angle. Stitch the edge at 1/8″ then open up the seam and quilt that scrap into place through the batting and backing. You can do so very randomly, fanning out around the original scrap at different angles, gradually covering the raw edges of the scraps below. The next 2 photos illustrate this better…
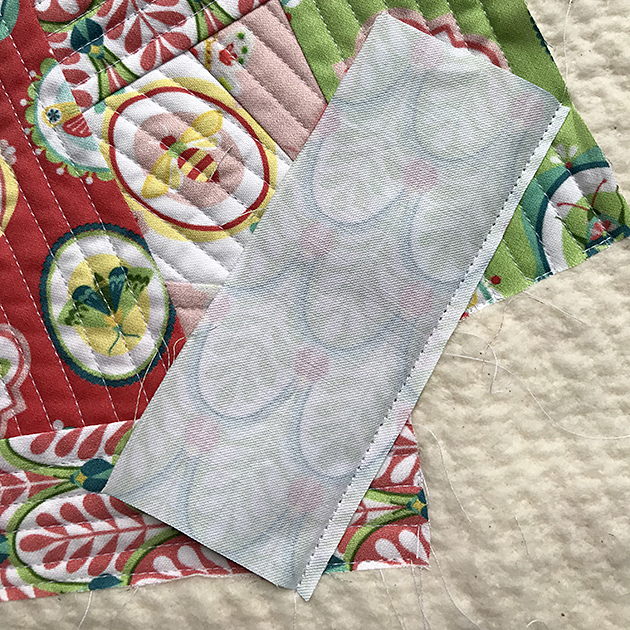
Lay a scrap right side down at an angle on top of the other scraps. Stitch into place 1/8″ from the edge.
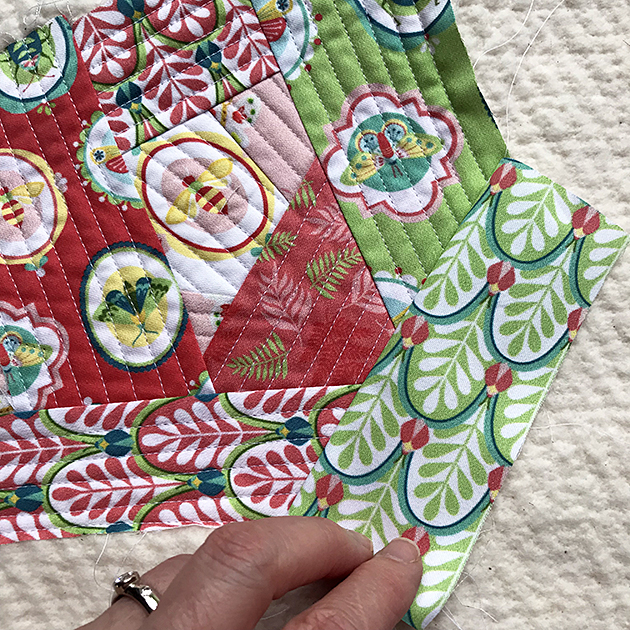
Now flip that piece over, opening the seam. Press if needed then quilt though all layers.
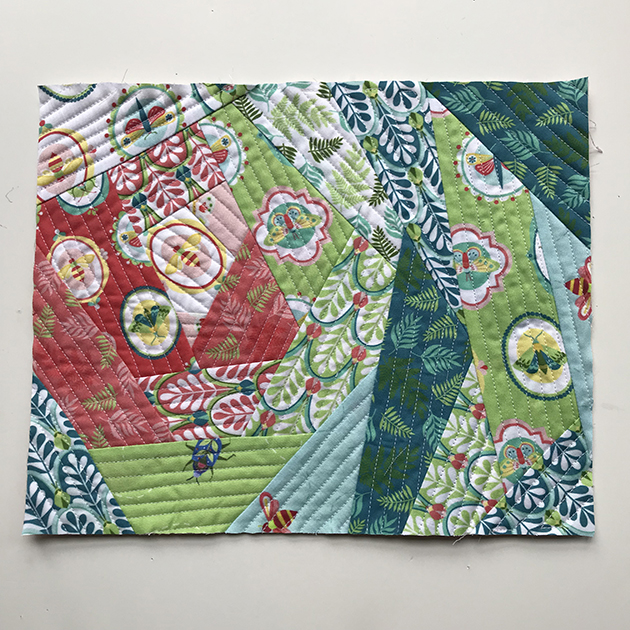
Keep going, adding scraps and fanning out, covering your raw edges as you go and quilting as you go. When you’ve filled up your background it’s time for a trim! I trimmed mine down to 8″ x 11″ using a ruler and rotary cutter. Some mug rugs are a lot smaller, like 6″ x 9″ but I kind of got carried away!
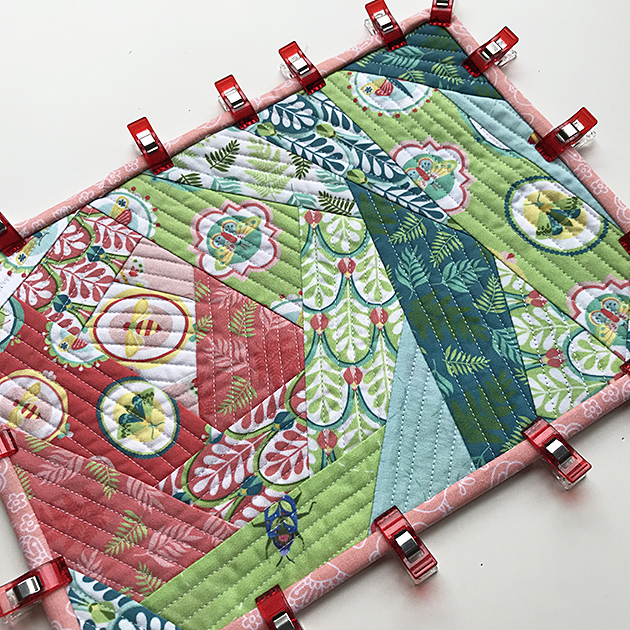
Next you can bind it using your preferred method. I looked up this video and followed along. The fabric I used for my binding is from my Dutch Treat collection. The pinks just happen to match close enough! My binding piece measured 2 1/2″ x WOF (width of fabric, about 44″).
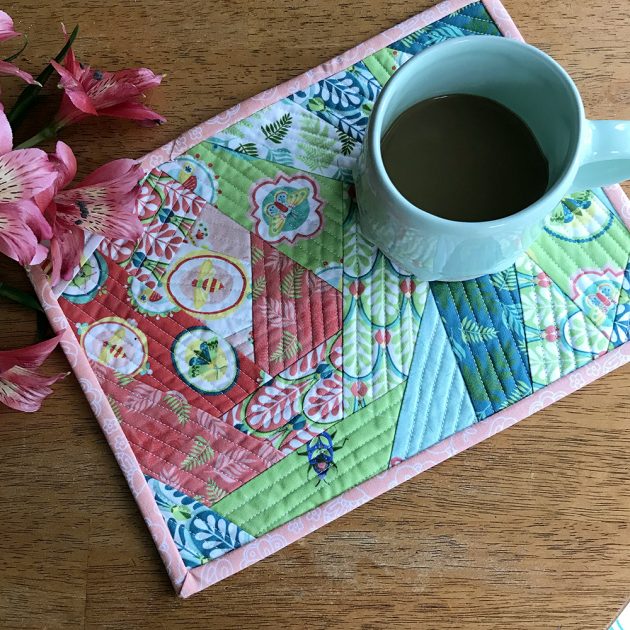
And here it is! Snug as a bug on a mug rug! This is such a fun quick project and I’m so happy with how it looks using Entomologie.
By the way, pre-orders on my 12 piece print sets are closing on May 20th, so get your order in now if you’re interested! There are also Entomologie appliqué kits and pillow kits available. As the fabrics are printed on demand, all pre-ordered Entomologie orders will ship the first week of June!
Have you tried QAYG? What have you made using the technique?
Looks beautiful! I like to make placemats, and I think this method would work great!
I would love to see what the back of your mug rug looks like.
I haven’t tried QAYG, only traditional quilting. This looks a lot faster! Thanks for posting.