At the end of last year I was able to teach a few ornament classes locally. It’s always such great experience to learn from my students. Many of my felt ornament designs involve some basic embroidery stitches. One of my favorites is the French Knot. It’s such a great little stitch for adding a touch of color and dimension to your project.
Over the years I’ve heard people complain that they can’t quite get the knack of the French Knot. I remember learning it myself in my early teens and being frustrated with it sometimes working and sometimes not. Eventually I got the hang of it but I never realized what exactly I was doing wrong! But teaching it repeatedly to my students last holiday season allowed me to see the stumbling blocks.
First, take a look at my video showing how I make a French Knot:
Looks easy enough, right? Well, it is if you remember a few tips. Let’s break it down.

Be sure to wrap the floss around the needle, wrapping towards the point. Then insert the needle back into the fabric near the spot where the needle came up.
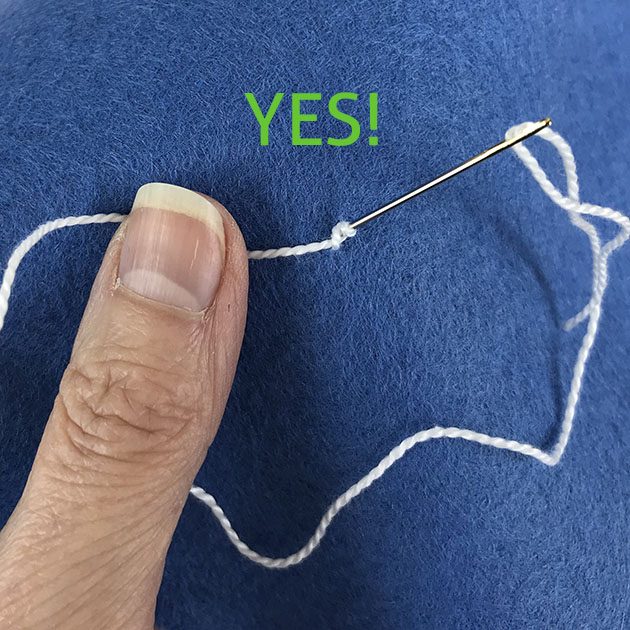
Then when you tug on the floss to snug up the wraps, the floss tail should be on the bottom with the stack of wraps on top. When you pull the needle through to complete the stitch you will have a perfect knot!
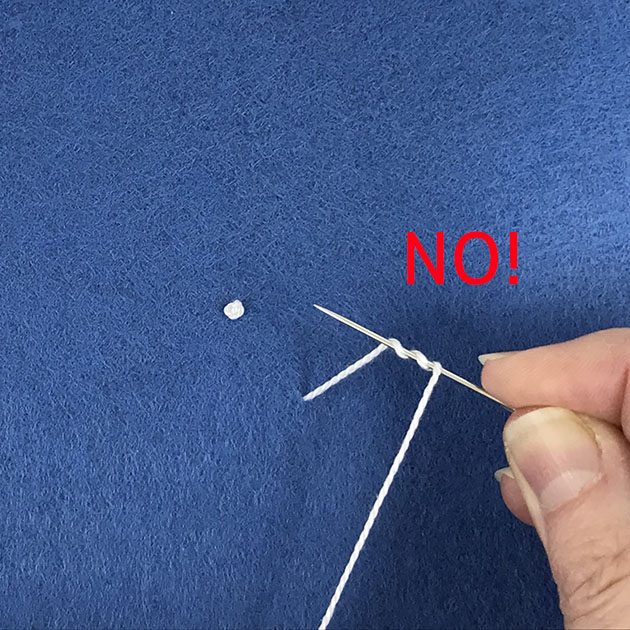
Now let’s look at what not to do. Do not move the tip of the needle to wrap the floss. You’ll see above that the tail of the floss is not next to the point.
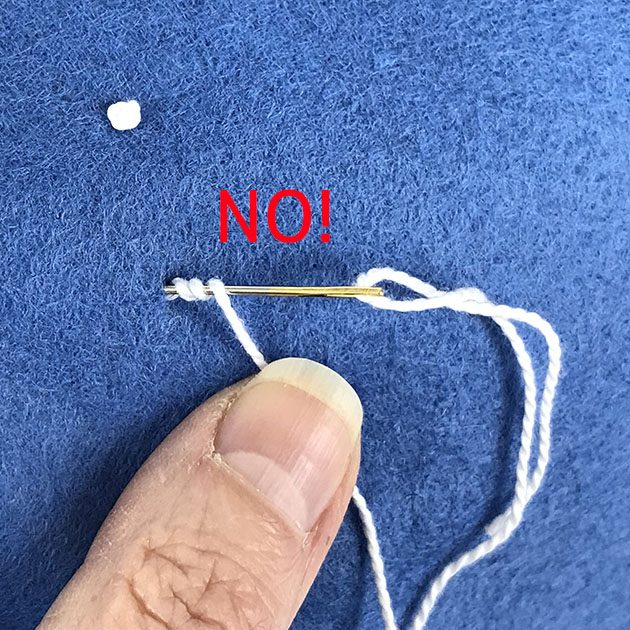
Then when you insert the needle and tug on the floss to snug up the wraps, the floss tail will be on top of the wraps. Not good! When you pull the needle through the knot will disappear! Which obviously is not what you want.
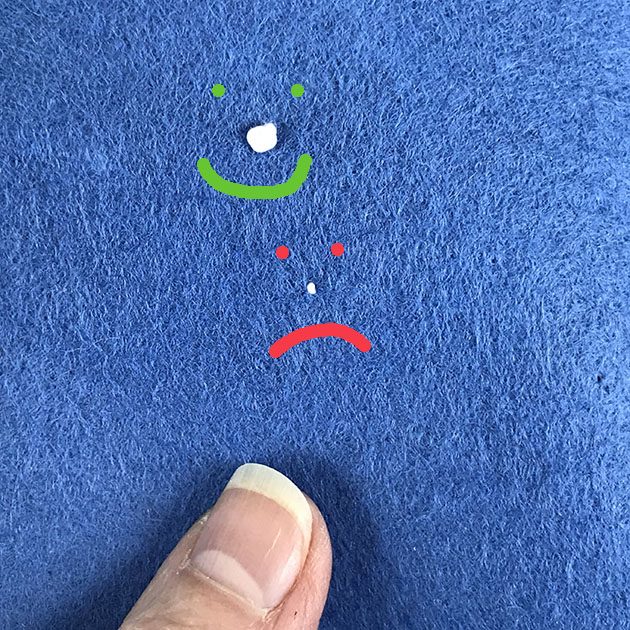
There you have it! Happy knot and sad stitch. It actually took me a while to figure out what was really happening with the successful knots and the failed knots. I hope this has shed some light on it for you and that you will master the French Knot!
Thanks for this explanation Betz, the French knot has always frustrated me but this all makes sense–can’t wait to try it!
Awesome! Happy to help!
Oh wow, that was a great tutorial. The pics were with explanation was great but the video was even better. So clear & concise. I never knew to not move the needle or to pull the floss taunt once you put the needle back into the fabric. Thank you so much.
You’re welcome! Glad it was helpful.
Thanks so much for showing the French Knot. Now I know what I have done wrong in the past. [email protected]
Yay! 🙂
I always had trouble with
FRENCH knots. Now I know your tips, they’ll be a cinch! Thanks so much!
Perfect french knots every time now, thanks!
Awesome!
I always have done a figure 8…
I never knew why that would happen sometimes and then work out correctly sometimes! Wow – makes sense now!! Fabulous tutorial!
Great! Happy to help
This is so helpful. You are a very good teacher. Thank you!
Yay! Glad it helped you
Betz,
Well that explains a lot!!!!
Thanks so much for your great tutorial.
You’re a lovely teacher.
.Now my french notes will be consistent.