Recently I’ve become obsessed with stitching on knits. I love the look of simple sweaters and knit accessories accented with woolly embroidery. I thrifted the perfect wool sweater to embellish, but when it came to start stitching I knew I needed a little practice first. That’s how I ended up making these fun little wristlets! And they could not have been an easier entry to big yarn embroidery.

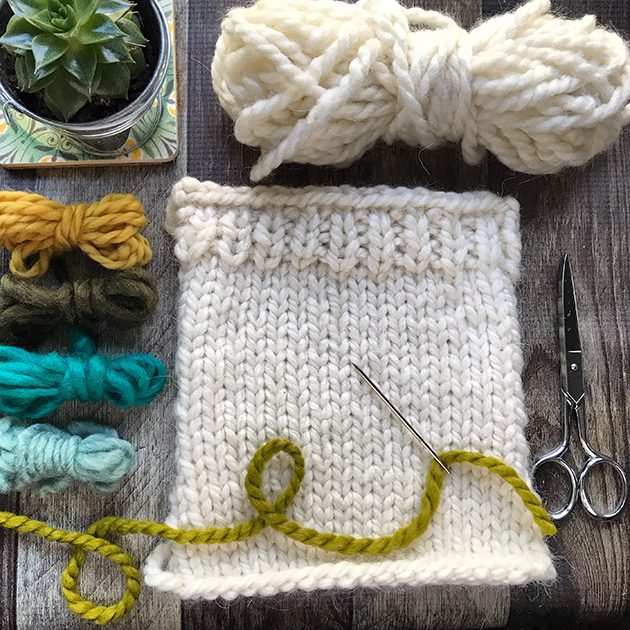
I found some super bulky ivory yarn (Buttercream Luxe Craft, acrylic/alpaca blend) in my stash to knit into wristlets. I used size 10.5 knitting needles. I casted on 20 stitches and knit about 6″ (25 rows) then knit 5 rows of 1×1 rib and casted off. Then I made a duplicate one. Basically you want your rectangles to measure about 6-7″ wide and 8-9″ long. I suggest knitting a test swatch to wrap it around your hand to estimate fit.
If you’d rather cut up an old felted wool sweater and sew a pair of wristlets, you can reference a tutorial from my archives here: Felted Wristlet Tutorial

I gathered various yarns from my stash and decided on a color palette and used a tapestry needle with a large enough eye to accommodate the thick yarn.

I sketched out a rough floral design and transferred it to Sticky Fabri-Solvy. I adhered it to the right half of the wristlet with the rib at the bottom edge. That way the design will be centered on top of the left wristlet when it’s folded and seamed on the right. For this first wristlet, I stitched through design on the the Sticky Fabri-Solvy stabilizer. It was no bueno! It didn’t adhere well on the fuzzy knit, it tugged on the roving style yarns and it required soaking afterwards to remove it.
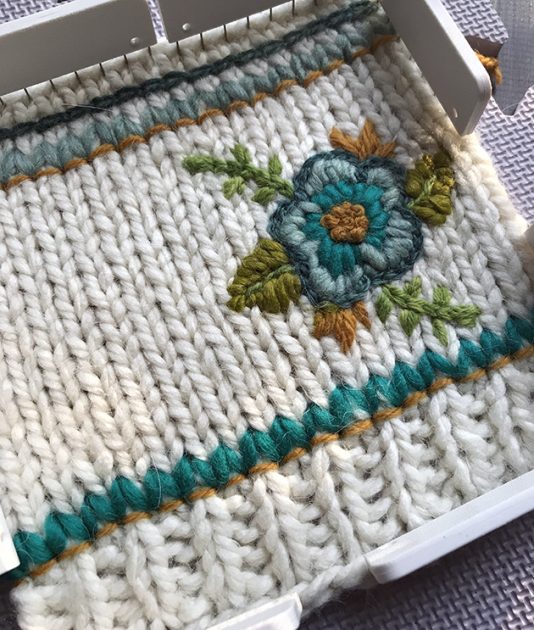
While I love SFS for regular floss embroidery on fabric, I did not like it for this project! The photo above shows the left wristlet drying on the blocking mat after soaking.

Here’s the first one done! After embroidering, I folded the wristlet rectangle in half, matched the side edges and used a mattress stitch to join them. About 1.5″ down from the top I left a 2″ opening in the side seam for the thumb hole.
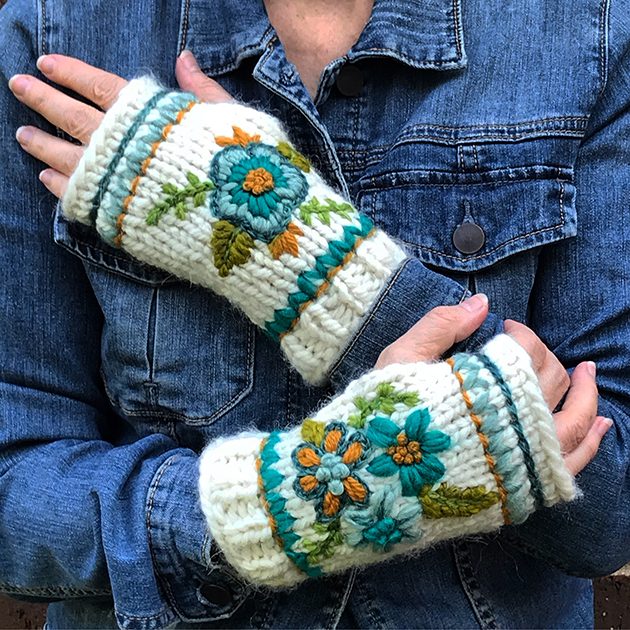
The big flower is made with satin stitch petals with a chain stitch border. The center is a bunch of French knots. The leaves are back stitch and satin stitch. The big yarn made the stitching go really fast!
I added borders using duplicate stitch, chain stitch and back stitch.

When it was time to make the right wristlet, I couldn’t bear to use the SFS or create a matching design. So I decided to just wing it! I drew another sketch (just on paper) and placed it on the left half of the second knit rectangle to get a feel for scale and placement. Then I set the sketch aside and started stitching, using the sketch as reference. I made sure to use the same colors and types of stitches to keep the feeling harmonious.
When I was done stitching and adding the borders, I seamed it up! And there they are, two coordinating “sisters”, not identical twins!

They are super cozy! So fast and fun to make, I’ve already got plans for a second pair to give as a gift. They are kind of addictive to make. I wonder if I’ll get around to stitching on that sweater I thrifted? 😉
Do you think you’ll try it? Would you be interested in a full pattern or class on big yarn embroidery?
*Edited to add*: Join my online class: Embroider On Sweaters (& More!) for full instructions, templates etc for these wristlets and other projects.

Yes…and Yes! These are so cute and look like they would work up quickly (at least the knitting part for me!)