Welcome!
Back in the day (Almost 10 years ago!) I created this free tutorial for my readers and it’s become one of my TOP TEN most popular projects!
I hope you enjoy this “Vintage Betz White” tutorial and consider becoming one of my email list subscribers! >>join my email list<<< for fresh new content, freebies, discounts, sneak peeks and other goodies!
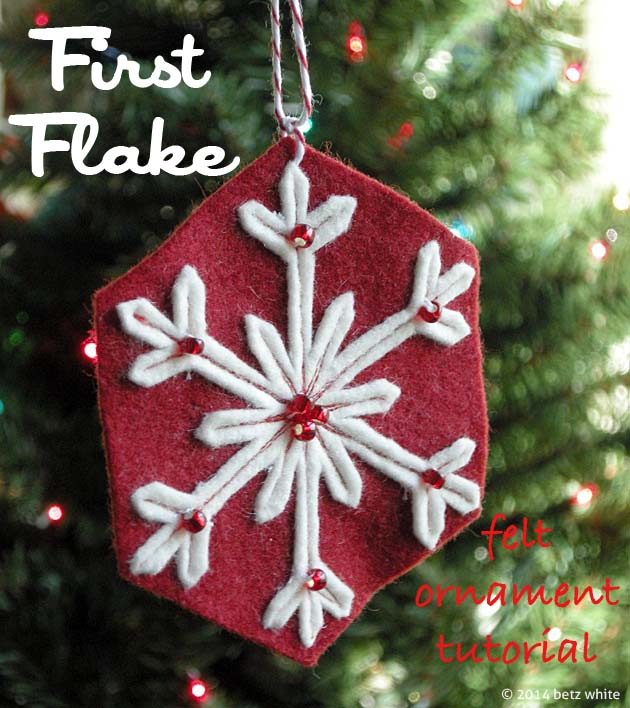
Before the flurry of the holidays begins, I want to share a quick little ornament tutorial to kick off your holiday crafting! I named this First Flake because I love that feeling of excitement when the first flakes of snow fall each winter.
This design is made from felt and uses a fun reverse appliqué technique that I can’t get enough of. It’s a similar process to that used in my Sweet Life bee pillow.
What you’ll need:
Hexagon template [download]
Scraps of felt in several colors
Beads
Thread
Pins
Disappearing ink pen
Small embroidery scissors
Baker’s twine or embroidery floss for the hanger loop

Download and print the hexagon template then cut 3 hexagons out of felt. For the ornament in the first photo, I cut 2 white and 1 red. For this tutorial, I cut out 1 white, 1 aqua and 1 blue.
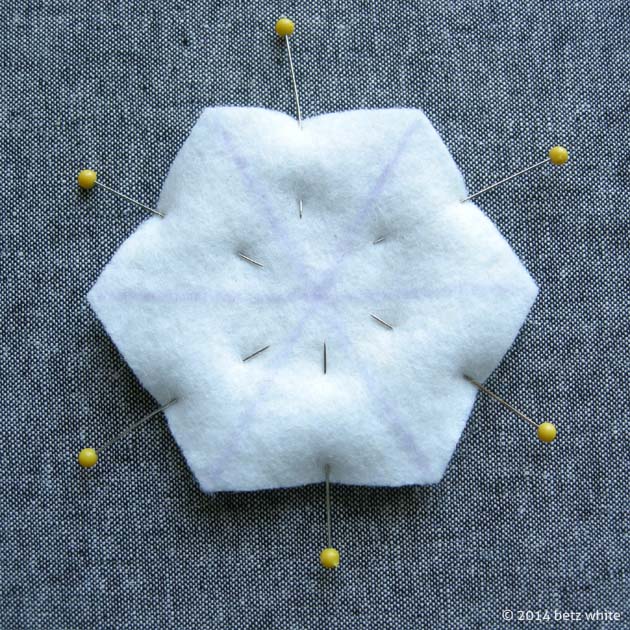
Layer the 3 hexagons, one on top of the other (white/red/white or blue/aqua/white) and pin together to secure. With a ruler and disappearing ink marker, draw a line corner to corner on the top hexagon, as shown above. (For tips on marking felt, read my Felt Lore post, Make your Mark.)
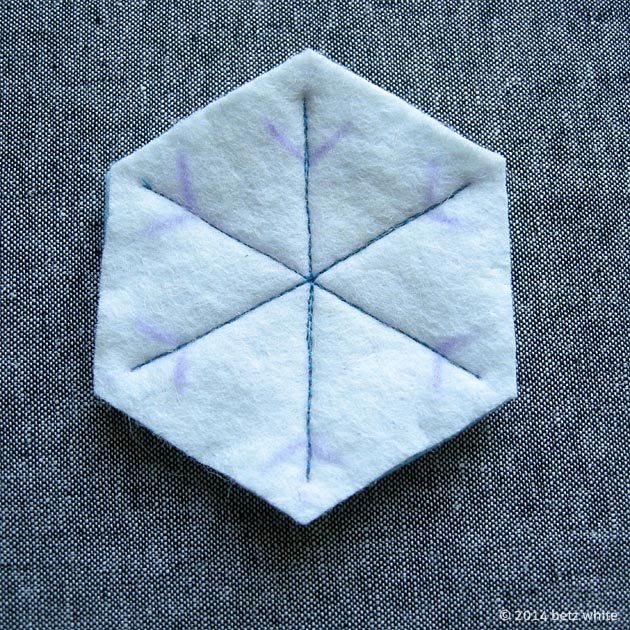
Choose your main thread color to contrast with the top felt (blue on white, above) and a bobbin thread color that contrasts with the bottom felt (white on blue). Sew your pinned felt through all layers along the marked lines. Start and stop about 1/4″ from the corners, leave the needle down, lift the foot and pivot the work. Then sew back over the line you just stitched. Repeat to stitch over your 2 other marked lines.
Next mark small “branches” 1/4″ from the ends of each stitching line, above. Stitch along those branches, pivoting and stitching over your previous lines.

Mark 3 more lines through the center, and equal distance from each original stitch line. Stitch following the same process.

Now for the fun part! Insert the tip of a pair of small sharp embroidery shears between the middle and top layer. Snip the top layer only, 1/16″ – 1/8″ from the stitch line. Snip a little at a time, cutting away the top layer. For now, ignore the felt near ends of the stitched lines.

Now go back and snip angles into the felt at the ends of each stitch line as shown above. It’s exciting to see the snowflake revealed! Once you finish trimming away the top layer, it’s time to do the same with the back layer. Take care not to cut the middle layer.
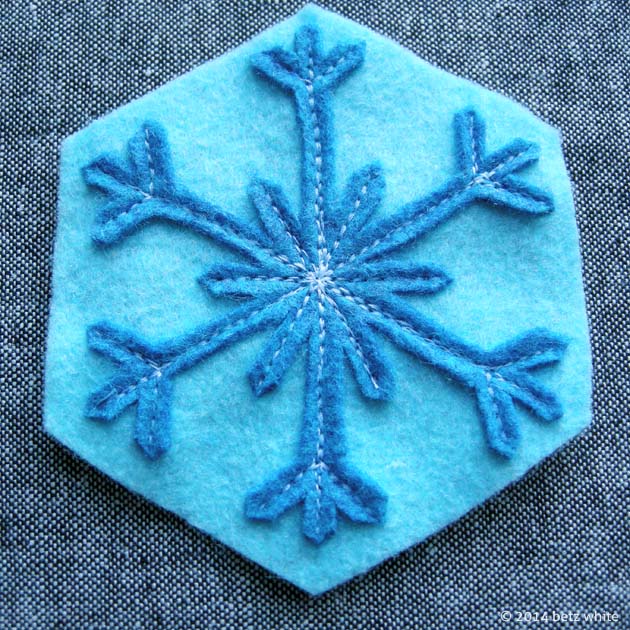
And here’s what the blue snowflake on the back looks like! I love double sided ornaments that look great no matter how they’re placed on the tree.
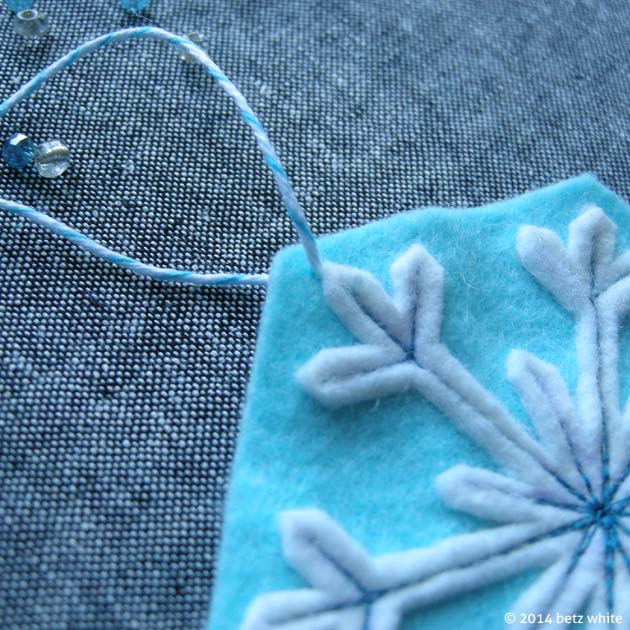
To make the hanger loop, thread a needle with a large eye with about 10″ of baker’s twine or embroidery floss. Take a stitch through the middle hexagon at the point above the snowflake. Pull the length of twine halfway through and tie a knot at the point. Tie another knot at the ends of the twine to close the loop.

To bead your ornament, stitch a bead at each branch intersection and a cluster of beads in the center. It’s easiest to stitch the beads to the front and the back of the snowflake at the same time. I stitched a blue bead on the front, then when I pushed the needle to the back I stitched a clear bead on the opposite side. This makes it easier to hide stitches and knots.

All finished! I love how these turned out and they really are fun to make. Left un-beaded, they would also make great holiday coasters.
If you can’t get enough of ornament making, be sure to check out my other ornament patterns in my shop!
***
Did you enjoy this “Vintage Betz White” tutorial? I’d like to encourage you to >>>join my email list<<< for fresh new content, freebies, discounts, sneak peeks and other goodies!
Well done!!!So cute flakes 😉
I start to think too for a Christmas decor…it’s the best time of the year!
Happy holydays!!!
hugs
Thank you kindly for your complimentary snowflake ornament tutorial. I love this reverse appliqué technique ~ it really creates an added level of pizazz! 🙂
My mother recently passed away–and was an avid crafter. She loved making quilts with hexagons, so I am going to take one of her polyester double knit skirts and use it for the base layer of this ornament. I will use felt for the cut away portion. What a great way to have her with us every Christmas! I will send pics when they are done. I will have about 50 to make for all the family!
Cute as a snowflake pie! I’m making my second as we speak—– adding them to my 2014 Betz Ornaments!!! Thanks for the continued inspiration! 🙂
This project is so clever, I love it! Thanks for sharing it, I’m definitely going to make some of these lovely snowflakes