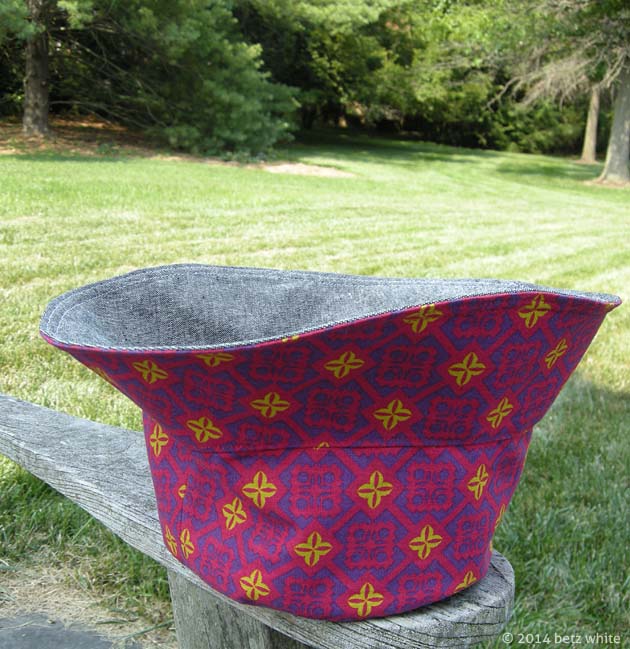
Hello! It’s exciting to see people eager to join the sew-long! In my first post I discussed fabric choices for your Reversible Bucket Hat. You’ll see below that I’ve decided to go with 2 cotton/linen blends. The print is Kokka and the lining is the tried and true Robert Kaufman Essex Linen in Black.
If you’ve chosen your fabrics, it’s time to print out the pattern and figure out what size you’ll be making.
Printing:
For the pattern templates, you’ll only need to print out pages 6 and 7. Be sure that your printer is set to print the pages at 100%, no scaling. You’ll see a printing measurement gauge at the top right of page 6. You can measure this with a ruler to be sure you’ve printed it to scale.
Sizing:
Next, you’ll need to take a noggin’ measurement. Use a tape measure to measure the head of the intended hat wearer. The tape measure should be placed above the eyebrows. Refer to the size chart at the bottom of page 6. My head measures 22 1/2″, so I made myself a size Large. If you’re in between sizes, I recommend sizing up. I think it’s best to err in the direction of making a hat that’s a little too large vs. a little too small.
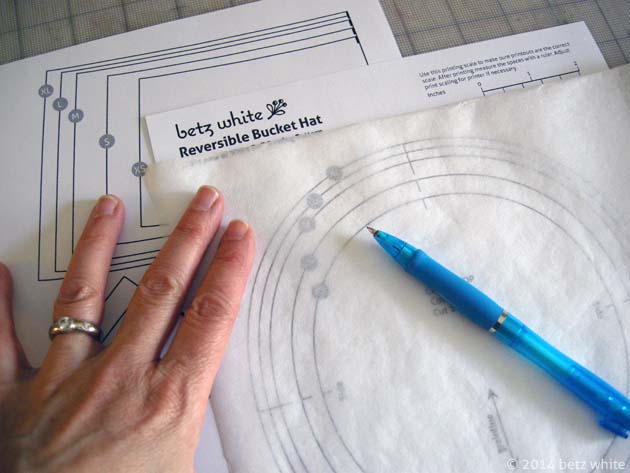
Tracing:
I like to use something called swedish tracing paper to trace my patterns. Tracing keeps the original print-out intact in case you want to make different sizes. And face it, once people see your first hat you’ll get requests for more! Trace the size you’re making and label it with the template name and grain line for future reference then cut out the templates. Seam allowance is already added to each piece
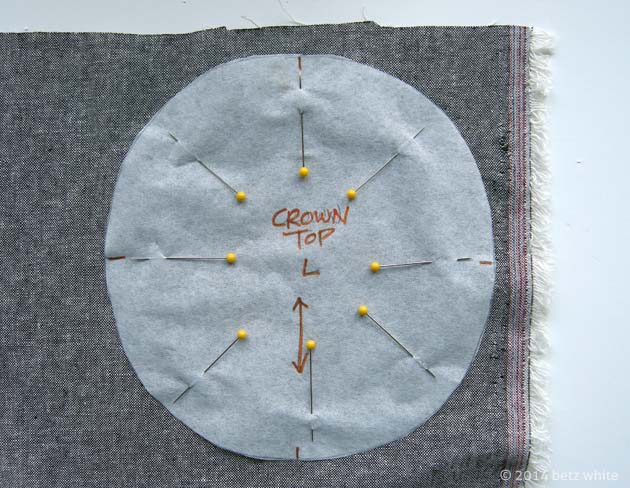
Cutting:
Pin your templates to the fabric, aligning the grain line parallel to the fabric’s selvedge. You’ll cut out the 1 Crown Top, 2 Crown Sides (on the fold), and 2 Brims (on the fold) each from the main fabric and the lining fabric.
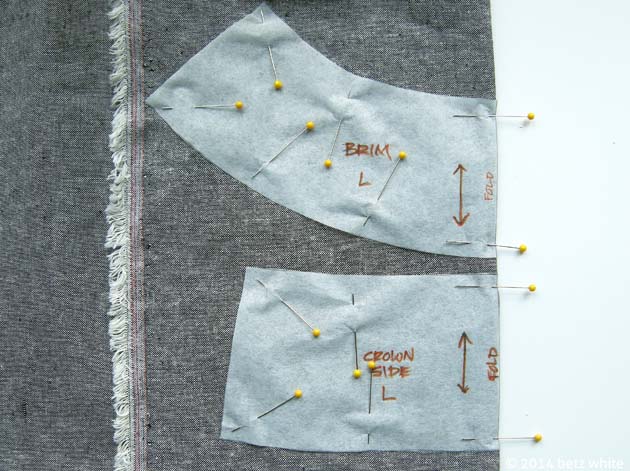
Pin your pieces on the fold as shown, then cut them out. Reposition your pattern pieces and cut a second Crown Side and Brim
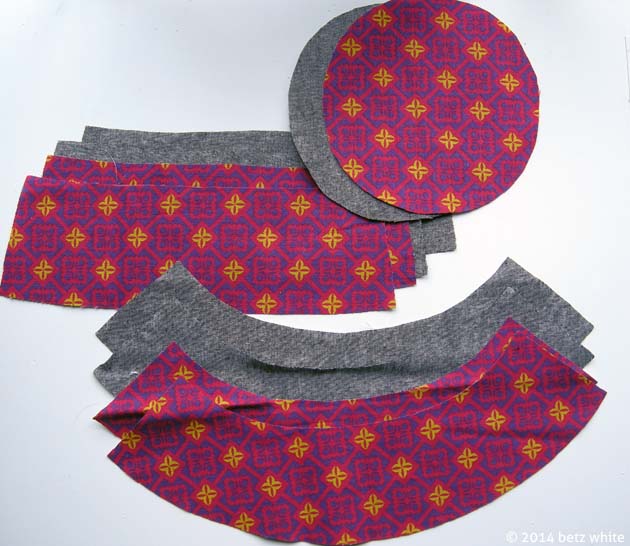
Now you should have 10 pieces cut out altogether, as shown above.
Interfacing:
The fabrics I’m using are a cotton linen blend and have a firm hand and are a medium weight. I’m going to follow the pattern instructions and fuse my interfacing to the wrong side of the brim lining. If you are using a lighter-weight fabric, such as a quilting cotton, you might want to interface all pieces of either the lining or the main fabric. For interfacing tips, check out the post called My Favorite Interfacing Trick. For my brim interfacing, I used Pellon’s Shape Flex SF101.
In the next Sew-long Summer sew-along post, we’ll get sewing!
Still need the pattern? Get it for 50% off in my Etsy shop until August 22nd. Join the Facebook forum and post photos of your finished hat for a chance to win a pattern giveaway! Details here.