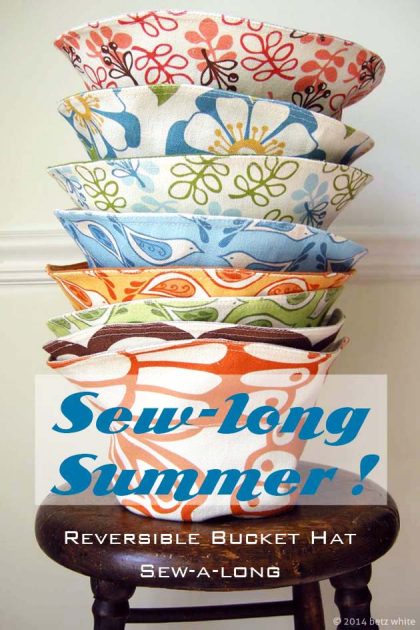
Here we are at lesson #3 in our Reversible Bucket Hat sew-along! If you’re just joining us you can catch up with the announcement post #1 and lesson #2 from last week.

Last post we cut out all of the pieces for the outer hat and hat lining. Of course since the hat is reversible, the “outer” and the “lining” are perfectly interchangeable, but for the sake of instructions I’m calling my print the “outer” fabric and my solid the “lining”, ok? Ok!

Sew Outer Crown sides and Brim
Put your 2 crown pieces cut from the outer fabric right sides together. Sew the short ends together with a 1/4″ seam allowance. Press the seam allowance open. Repeat, sewing the sends of the Brim pieces together (above).

Mark quadrants
Next we’ll want to divide the Top Crown and the sewn Side Crown into equal sections. The Top Crown template has marks to transfer at “north, south, east and west” or you can just fold the cut piece in half lengthwise then crosswise and mark the folds with a pin. Match the sewn seams of the Side Crown to find the halfway point between seams and mark the folds with a pin (above).

Pin Top Crown to Side Crown
With right sides together, match the Side Crown seams with the pins placed at the sides of the Top Crown (east and west). Match the other 2 sets of pins together at the”north” and south” pins of the Top Crown. Distributing the fabric equally between pins, continue to pin the edges together. Be sure that you are pinning the shorter edge of the Crown Side to the Crown Top.

Sew Crown
Sew together using a 1/4″ seam allowance. I like to sew this seam with the Crown Sides facing up so that I can smooth any little puckers as I sew along.

Notch, clip and pink
To help your sewn curve lay smoothly, you’ll need to clip, notch or pink the edge of your seam allowances. I would normally notch an outward curve, but since it is a very subtle curve, pinking shears will take out just enough excess to make those seam allowances behave. To reduce bulk, clip the ends of the intersecting seam allowances on the side seams as shown above.

Press and topstitch
Press your seam allowances down toward the Crown Sides. You can do this over the small end of your ironing board, use a tailor’s ham or a rolled towel. For a nice looking clean finish, topstitch the seam allowance 1/8″ from the seam on the Crown Side, above.

Sew Brim to Crown
Again, find the halfway point between the Crown Side side seams by matching the seams and placing pins at the folds. Do the same for the sewn Brim, above right. With right sides together pin the Brim to the Crown Sides, distributing the fabric evenly between quadrants as done withe the Crown Sides and the Crown Top. Sew together. Clip, press and topstitch the seam allowance toward the Brim.

Sew the Lining
Repeat the exact same process with your lining pieces, sewing the Crown Top, Crown Sides and Brim together. You’ll end up with and outer hat and a lining hat, as show above.
You’re almost done! In the next post we’ll be putting the outer hat and lining together.

I wonder if you’d go into a little detail on using a tailors ham? I have one, but really don’t know how to use it!
The tailer’s ham looks like a big stuffed egg. In this scenario you can put it into the opening of the hat as a stable thing to iron against. It’s great for things that are 3D and too small to it onto the end of an ironing board.
Thank you. I guess I just need to practice!