
Today I want to share another pom-pom tutorial with you using my new Llamallooma pom-pom maker! I already covered the how-to’s for the basic pom-pom a few blog posts ago that requires a bit of trimming and shaping. The loopy pom-pom is wrapped a special way and stays loopy so there is no trimming involved!

You’ll start out the same as the basic pom by placing the tie yarn in the notches. Next, hold the end from a ball of yarn with your thumb as shown above.

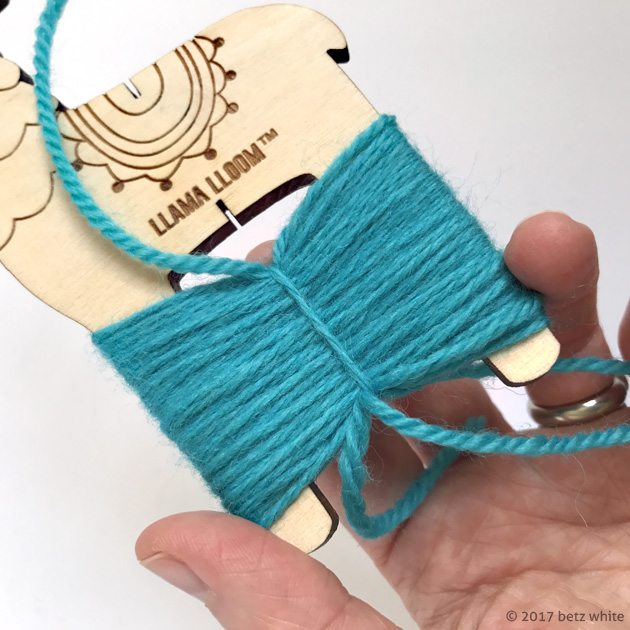
You’ll begin wrapping the yarn around the legs like a figure eight instead of just wrapping around the outside of the legs.

Back and forth, crossing the yarn in between.

Keep going, wrapping the yarn tightly next to itself. When you get close to the ends of the legs, release the tie yarn from the notches.
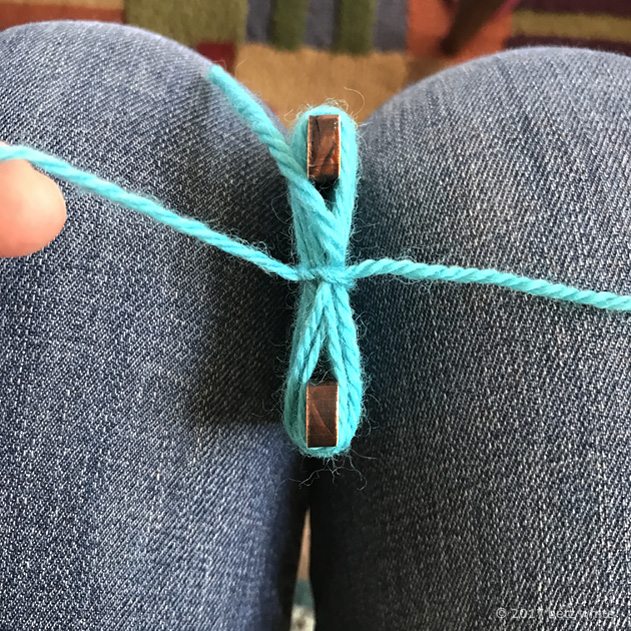
I like to hold the tool between my knees to tie the first knot.
Then you’ll slide the wrapped bundle off of the legs. Tie another knot around the center, cinching tightly.

Fluff the loopy pom by separating the loops with your fingers. Then just snip off the two little ends from leftover from wrapping. Keep your long ties for attaching the pom to a project.
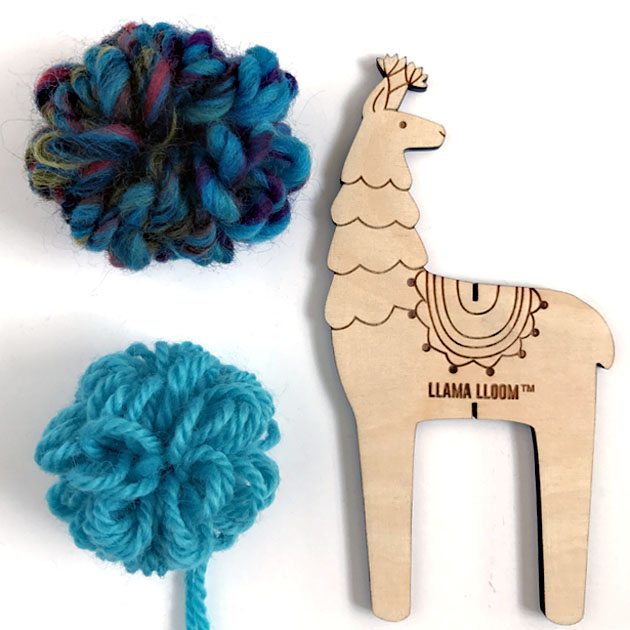
Your loopy pom-pom density will vary depending on the thickness of the yarn you used. The top pom-pom in the above photo is made with bulky yarn and the bottom pom-pom is made with worsted weight yarn.
I hope you enjoyed learning this fun variation! Llamalloomas are available in my shop.