Now that you have all your pieces cut and interfaced we work on the front pocket!
I love when the sewing finally starts – it is soooo much more fun than ironing!
Our first step is going to be getting the FEMALE side of the magnetic snap on.
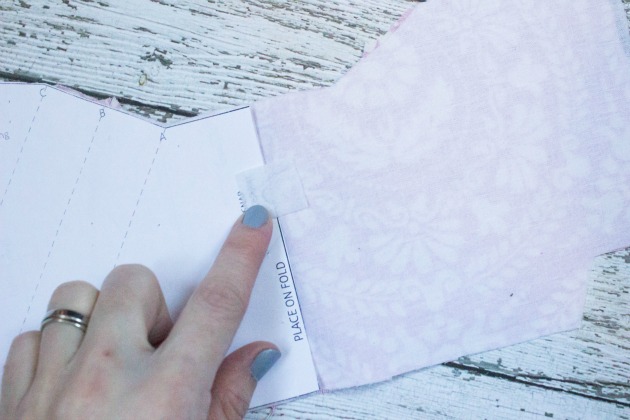
Which means you get out your square of interfacing and iron it to the center where the snap is meant to be placed. I make sure it is in the right spot by using my pattern piece.
You really will not want to skip this step. I know it seems like a 1 inch square wont matter much – but it really does over time and will help your bag hold up to much use.
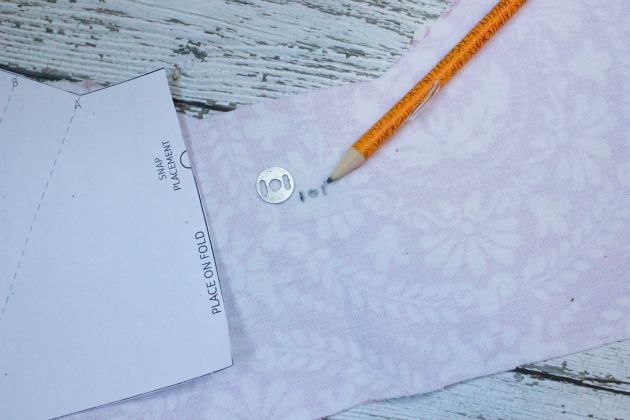
Get out the little metal washer and center the circle on the square and use a pencil to mark the center and the sides.
Next you are going to want to open those slits – do not over open them!!!!! I use a small thread snip scissor to do this because sometimes the seam ripper gets a mind of it’s own on me ….

Now put your FEMALE end of the snap tab into the slots – prongs through the slits you just opened up.
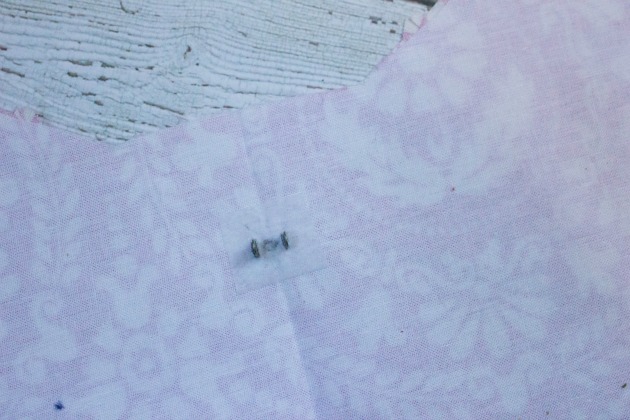
Fold the prongs over to the center of the tab. I use a hard edge of something (in this case my snip scissor handles) to b end the prongs in without hurting my fingers or breaking a nail.

Now, the magnetic snap is in place ! Onto the sewing. Get your lining pocket piece and put right sides together to the outer pocket piece.
You will sew up both sides and along the top edge. Then snip your little corners off and snips into the inside corners as shown here (careful not to cut through stitches)
Next top stitch ONLY along the top. Leave those sides alone! They do not need the topstitch.
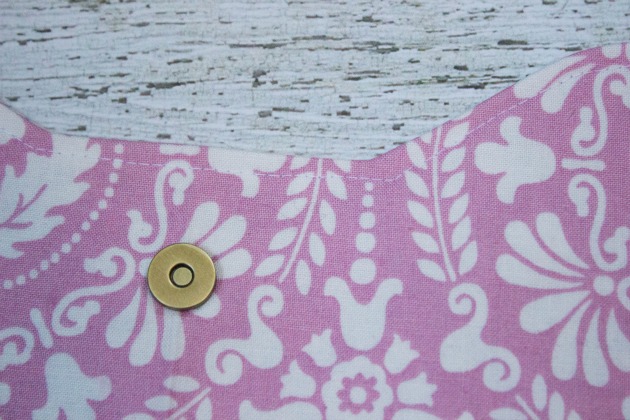
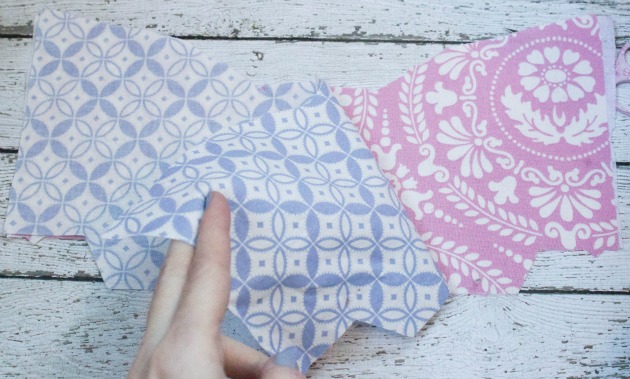
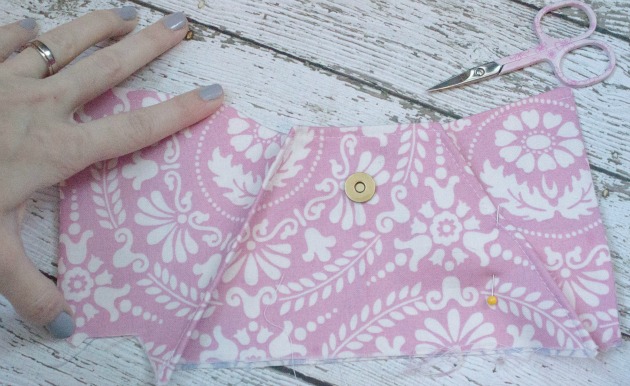
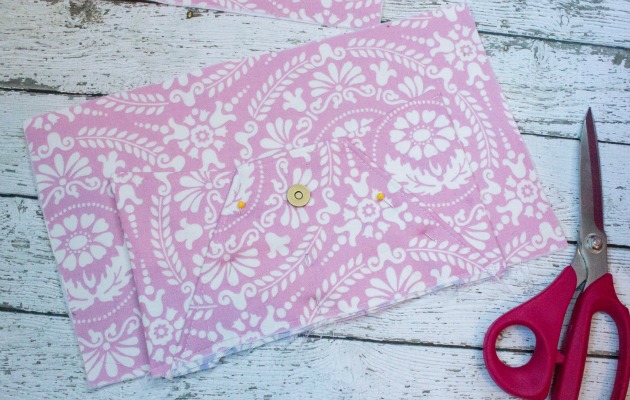
Diagram 4-6 show clearly the folding of the front pocket. But essentially you want to fold the front under at the line I have shown on both sides.
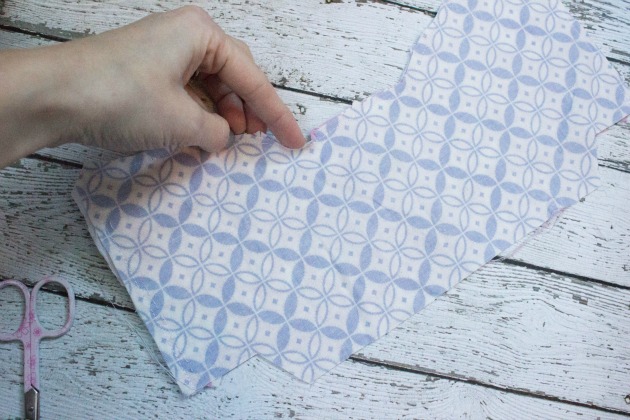
Then sew 1/8″ from the edge of those folds and complete the folding by bringing the top up into place where my finger and thumb are pointing too on the left – it should look like the right side of the picture when folded correctly. Then baste stitch in place as seen in diagram 6 of the pattern
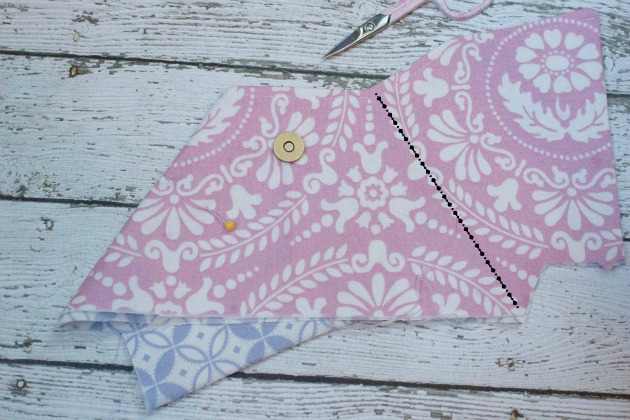
Place the completed pocket onto the front piece. I pin on my folds so that everything stays in it’s proper place. Sew along the sides and the bottom.
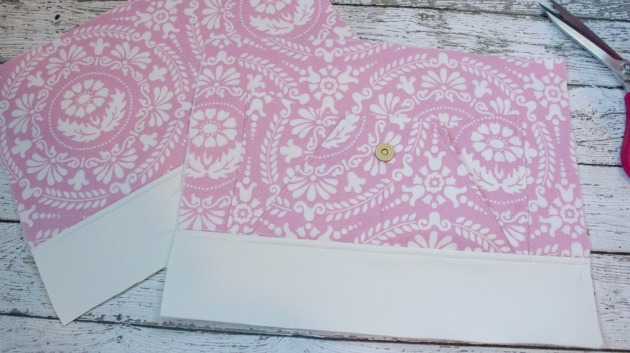
Now put the lower panels onto both the front pieces, right sides together, and sew along the matched edges. I did not pin this as I used vinyl (also why I skipped the fusible fleece interfacing on the lower panels)
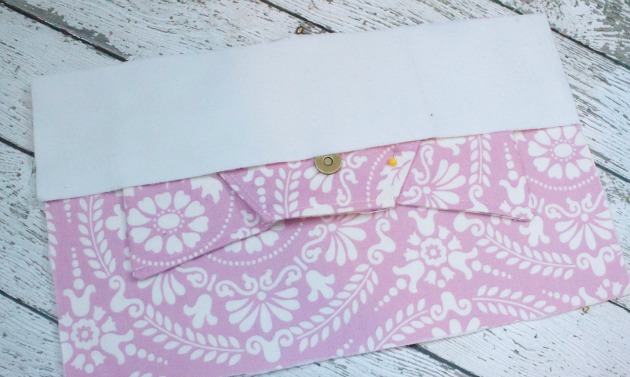
Fold your seam towards the lower panels (iron if you can – otherwise give a good finger press) and topstitch.
Join us in the facebook group and share your progress and ask any questions you have!
ALSO, remember the pattern is 50% off until the sew-along ends and you have until MARCH to get your pics in to enter into the sew-along contest!
The Seneca Creek Sew-Along

I love the design for this pocket. What a great little trick and it looks AMAZING!!!
I am not sure why I can’t get into the Facebook sew along group. Can someone help? Thanks
I’ll look into it for you. Can you email me your Facebook user name to [email protected]?