This week we got our materials together, our appliqué pieces prepped and got ready to stitch. Today we’ll put the STITCH in Stitch-along! (Catch up with Day 1 and Day 2 if you need to).

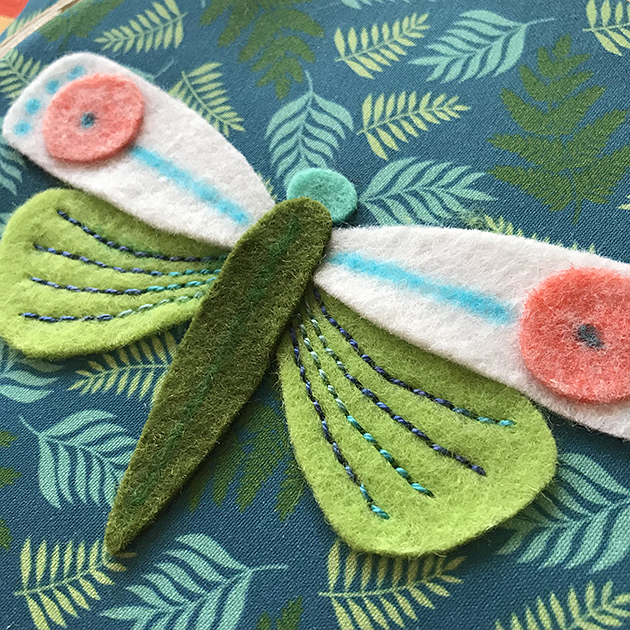
Now that you’ve got your felt appliqué pieces glue basted, you’re going to need to mark the stitch lines for your embroidery. Refer to your stitch placement diagram. There are many different ways to mark your lines. I use a disappearing ink marker most of the time, as shown above in blue. The line will stay visible until you remove it with water.
The pink line, on the lower wing, is made with a Fixion pen and can be removed with the heat of the iron. Sometimes felt is tough to write on because of it’s fuzzy texture, so I tend to just lightly indicate the stitch line.
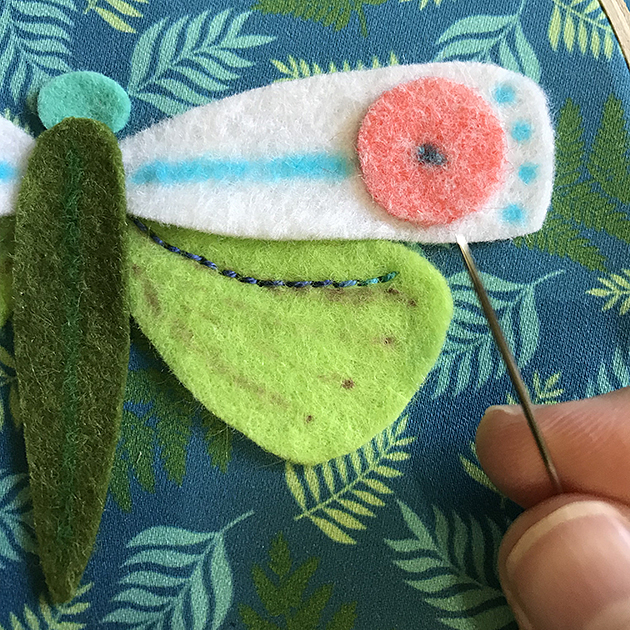
Now for the stitching! I’m beginning with an old favorite, the backstitch. As you can see, I *approximately* follow my marked lines, using them as a guide but not an absolute. I started with the top line on the Lower Wing then proceeded to stitch the next 3 below.
I created a short video tutorial of how to Back Stitch! You can watch it here:
If you have trouble stitching your appliqués mounted in the hoop, you can take it out of the hoop! The felt has enough body that it won’t pucker when you pull your stitches taut. Also, if you find it too challenging to make the backstitch by poking the needle down and back up again in one motion, you can break each stitch into two steps: Down. Then up.
Please let me know if you have any questions! Happy stitching this weekend and I’ll be back Monday with another stitch video!