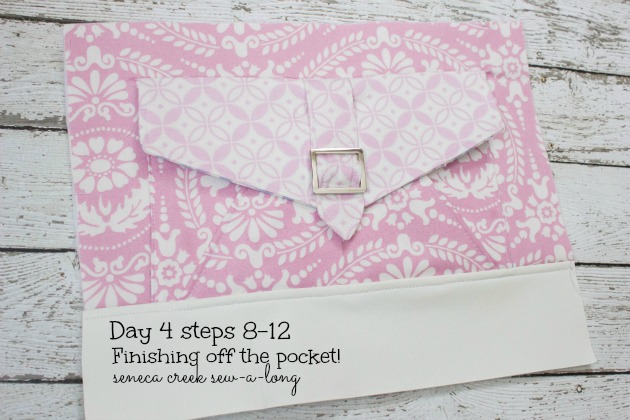
Today we are finishing off the front pocket by creating the pocket flap and faux buckle.
To start you will do the same snap steps as we did on Monday’s sewalong.
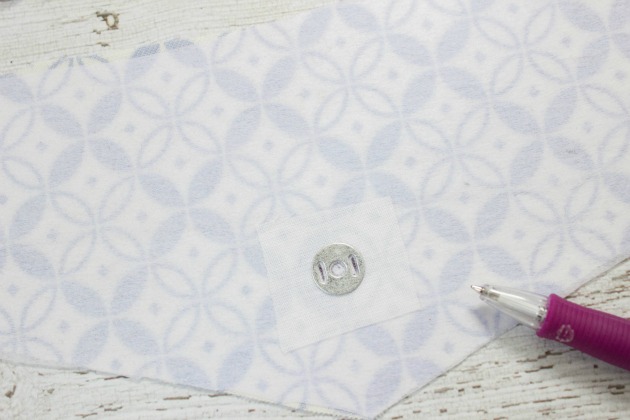
Iron the interfacing square to the back of the lining pocket flap fabric.

Mark snap placement and slit though the straight lines with a seam ripper or scissor and then put the snap prongs through and fold the prongs over.
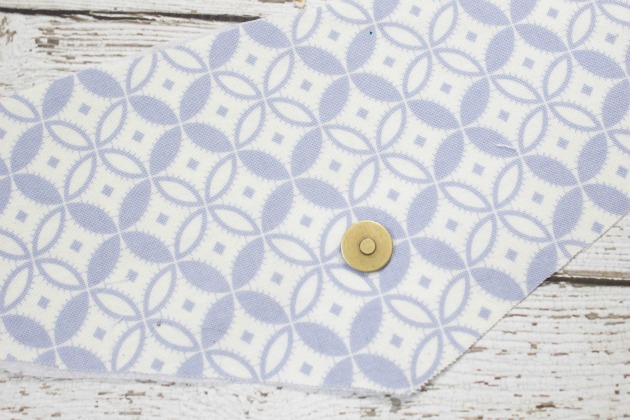
Now that the male end of the snap is in place get out your outer pocket flap
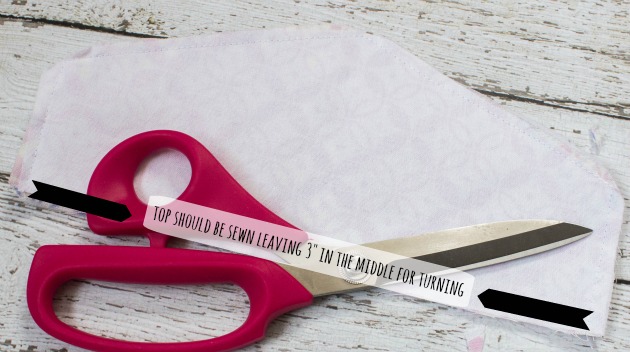
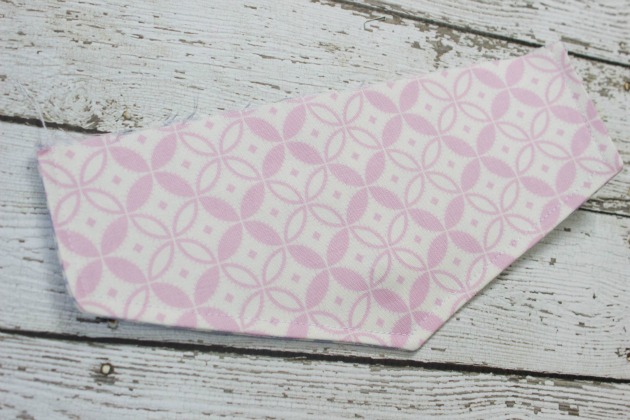
Sew all around the pocket flap, leaving 3 inches in the center top for turning. Snip your corners, then turn out and press well.
Top stitch along the sides and the bottom.
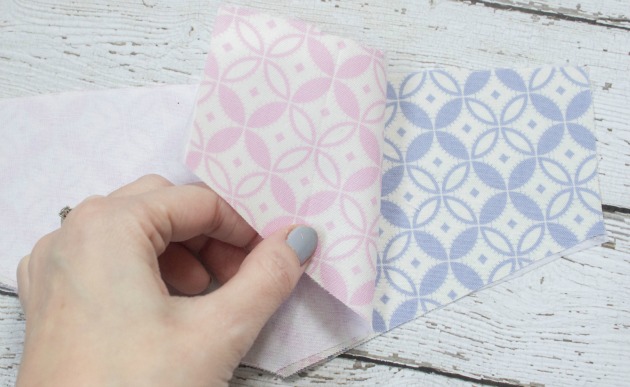
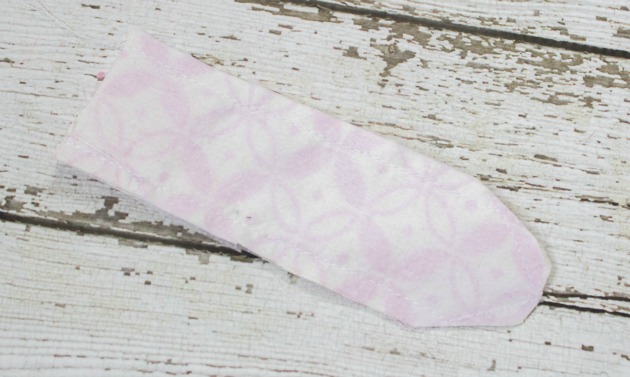
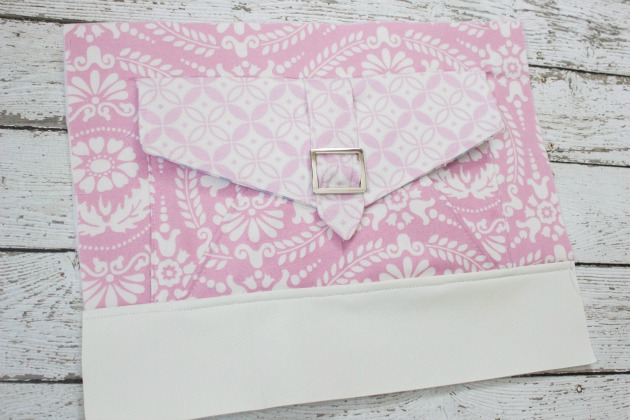
For the flap tab put the pieces right sides together and sew around edges leaving the top open for turning.
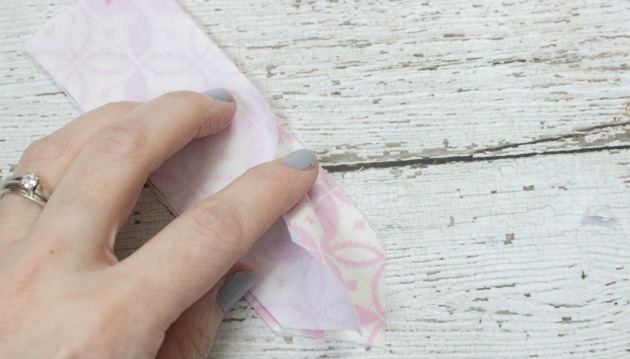
Trim around and clip corners to help make turning easier. and then topstitch 1/8″ around all 3 edges.
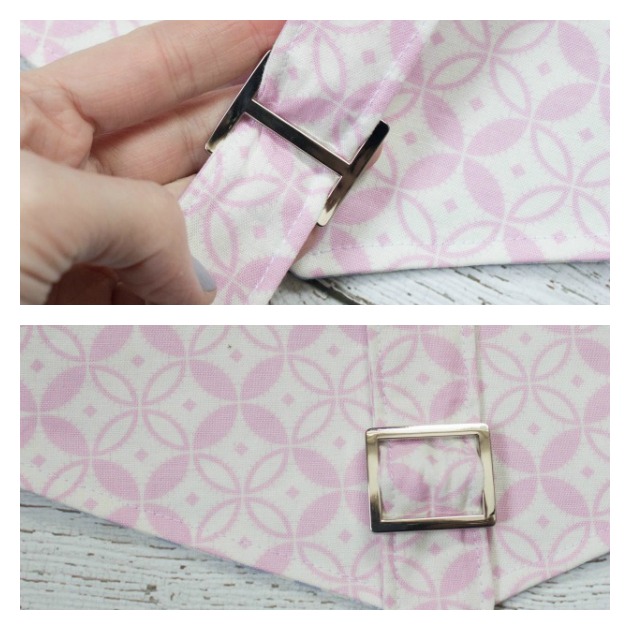
Slide the buckle on! Here is a view of the bottom and the top:
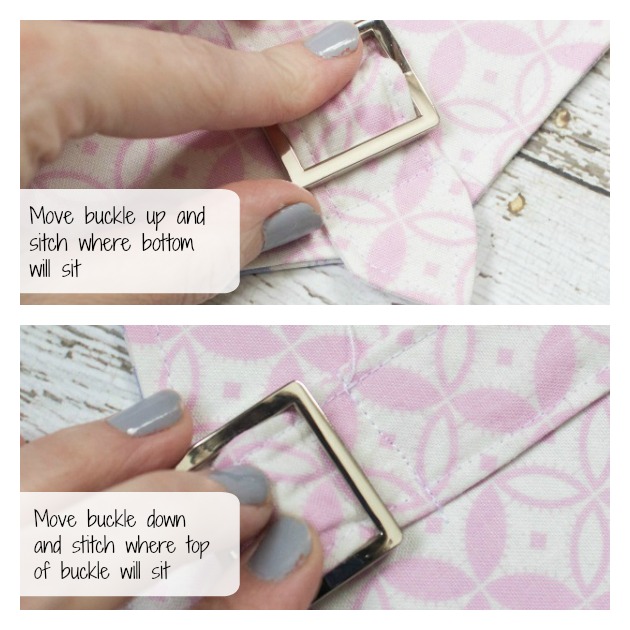
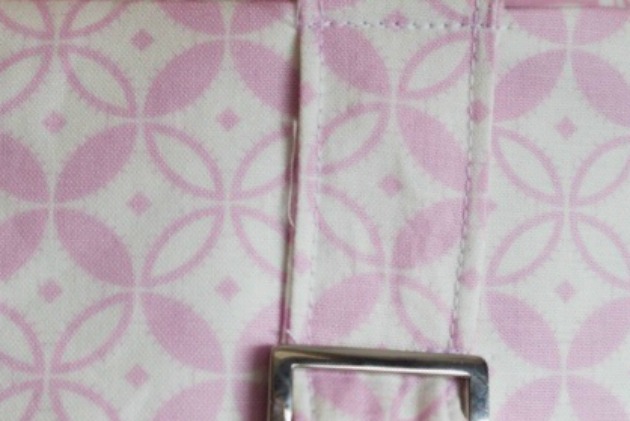
Now fold the flap tab edge over and INTO the 3 inch spot you left on the pocket and sew along the top – just where the buckle is.

[Note: Jen’s technique for inserting the flap tab is slightly different than the way the original pattern was written. Both ways work great! Feel free to do what works for you. Ask any questions if you’re unclear! – Betz]
This next step is the trickiest part, for me, as you REALLY want to make sure the pocket flap aligns with the pocket! I put the snap together and then mark where the top edge is of the flap is – making sure it is straight along the top.
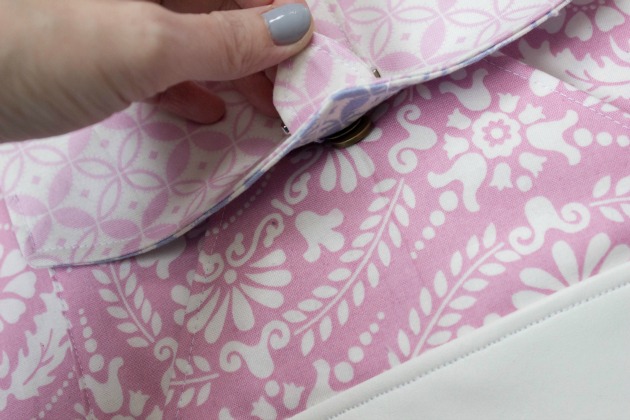
Now FLIP the pocket up so you are looking at the lining fabric as seen in the next photo move the flap down a 1/4″ (about) from that line and pin in place ready to sew along that edge.

and then sew along the edge
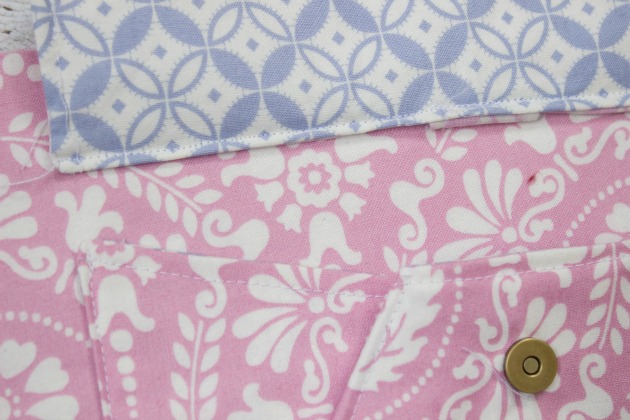
Put the flap down in place and press well with the iron!
How are you doing? Did you have to rip out the flap and try again to have it align? (I did… the first time I forgot to move it down a bit from my marking so it was too tight when I closed the flap.)
The Seneca Creek Sew-Along
- Schedule and prizes
- Supplies list
- Day 1: choosing fabric
- Day 2: getting the pieces cut
- Day 3: making the pocket

I couldn’t fine a buckle I liked locally so I went with a button. I will have to order some online for my next batch 🙂