
Each night at the dinner table my husband, two teen boys and I hold hands for a brief moment of thanks. Our 14 year old has the chilliest hands, to which I say, “Cold hands, warm heart.” He furrows his brow and I shrug, “It’s just an expression.” The saying does fit his personality though, he’s got a calm cool exterior and a warm caring heart.
How about we try to have a warm heart and hands? Last month I showed you my Felted Wristlets with the needle felted hearts and today I bring you the tutorial to make them! With the snowy weather and cold temps we’ve been having it’s just what we need. Of course I’m cold all the time, so I even wear these while I work at the computer.
Please read through the whole post before getting started on your own.
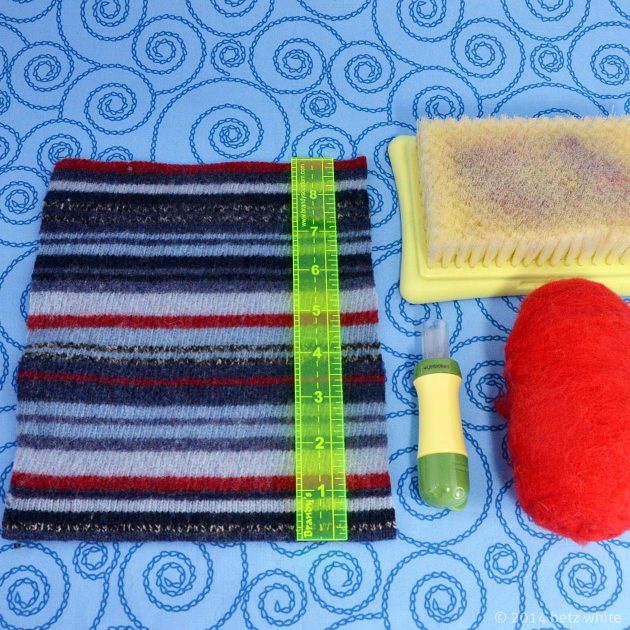
You’ll need 2 felted wool sweater scraps measuring about 8″ high by 7-8″ wide. The height will become the length of your wristlets, the width is the circumference around your arm. Adjust the measurements accordingly for a custom fit. Need to know how to felt a sweater? Details are in my book Warm Fuzzies or in this ancient blog post.
To needle felt a heart or other detail, you’ll need a Clover needle felting mat, tool and some wool roving.
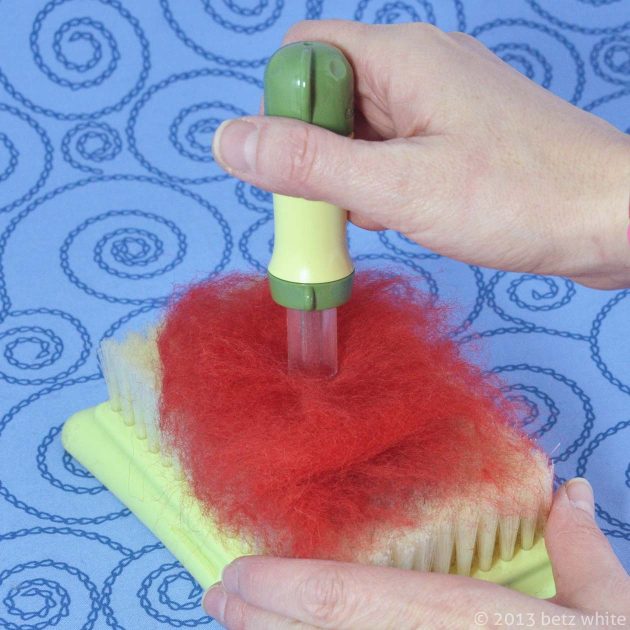
Lay down a few light layers of roving onto your mat. Holding the needle felting tool vertically, start stabbing the roving repeatedly until it makes a nice dense pad of fiber. Here’s another tutorial using this tool from the ol’ way-back machine.
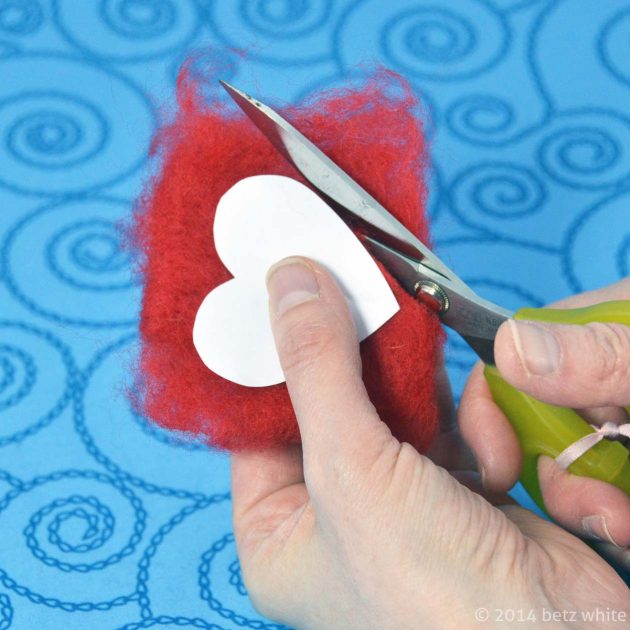
Cut a heart template out of paper (mine is approximately 2″ x 2″). Peel the felted roving off of the mat and use the template to cut a heart shape out of the roving.
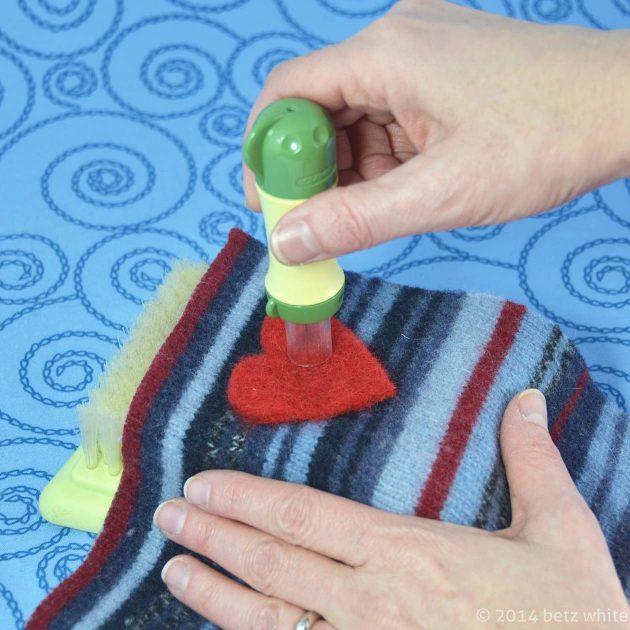
Now place one of the rectangular felt sweater scraps onto the needle felting mat. Place the roving heart on top. You can eyeball the heart placement by first wrapping the scrap around your hand and marking it with a pin (just be sure to remove the pin before you needle felt!). My heart is placed about 1 1/4″ down from the top and 1 1/2″ in from the right edge (for the left wristlet). Keep in mind there will be a side seam with seam allowance taking up some of the width.
Now use the tool to felt the roving heart to the rectangle. Stab it repeatedly (oh, so therapeutic!) until the heart is fully adhered to the scrap. If you’re lucky enough to have a needle felting machine you may use that instead.
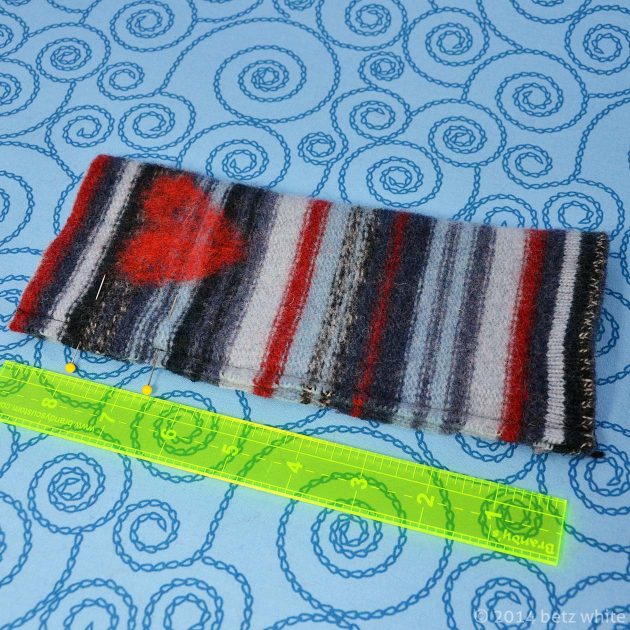
Now fold your rectangle lengthwise, right sides together. I love how the heart looks from the wrong side. Those fibers are really bonded to the sweater scrap! Pin the raw edges together. Sew the seam with a 1/4″ seam allowance, leaving a space for the thumb opening. My opening is about 1 1/4″ wide placed about 1 1/2″ from the top. Be sure to backstitch at the beginning and end of each seam.
And there you go! Warm hands and a warm heart! Repeat these steps (with the heart on the other side) for the right wristlet.
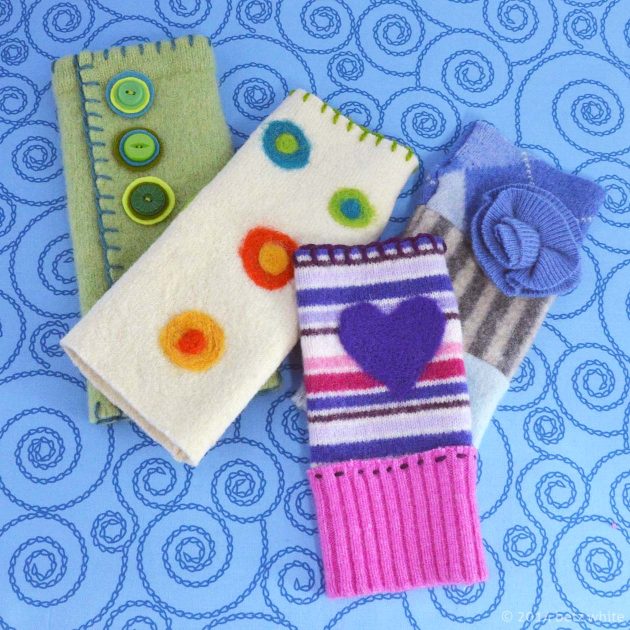
I’ve taught this project as a workshop before and the variations are endless. You can add vintage buttons, needle felted spots, a rosette, etc. You can seam together smaller scraps and accent with blanket stitching…whatever your *heart* desires!
And if you get on a felted sweater roll, you may enjoy these other felting tutorials:
What a neat little project! I am going to do it with my 5 year old granddaughter. Thank you!
Sweet! I hope you share a photo if you make them.
What a great project idea and so practical, too.
Thanks, Sophie! Super easy, too.